
AI product photography workflow
Product Hero Images with AI Backgrounds and Product Studio
Design the scene, add your product reference, and let Product Studio compose it. Guide scale and placement, review the details, then outpaint or upscale for your next campaign.
By ProductBackground · Updated
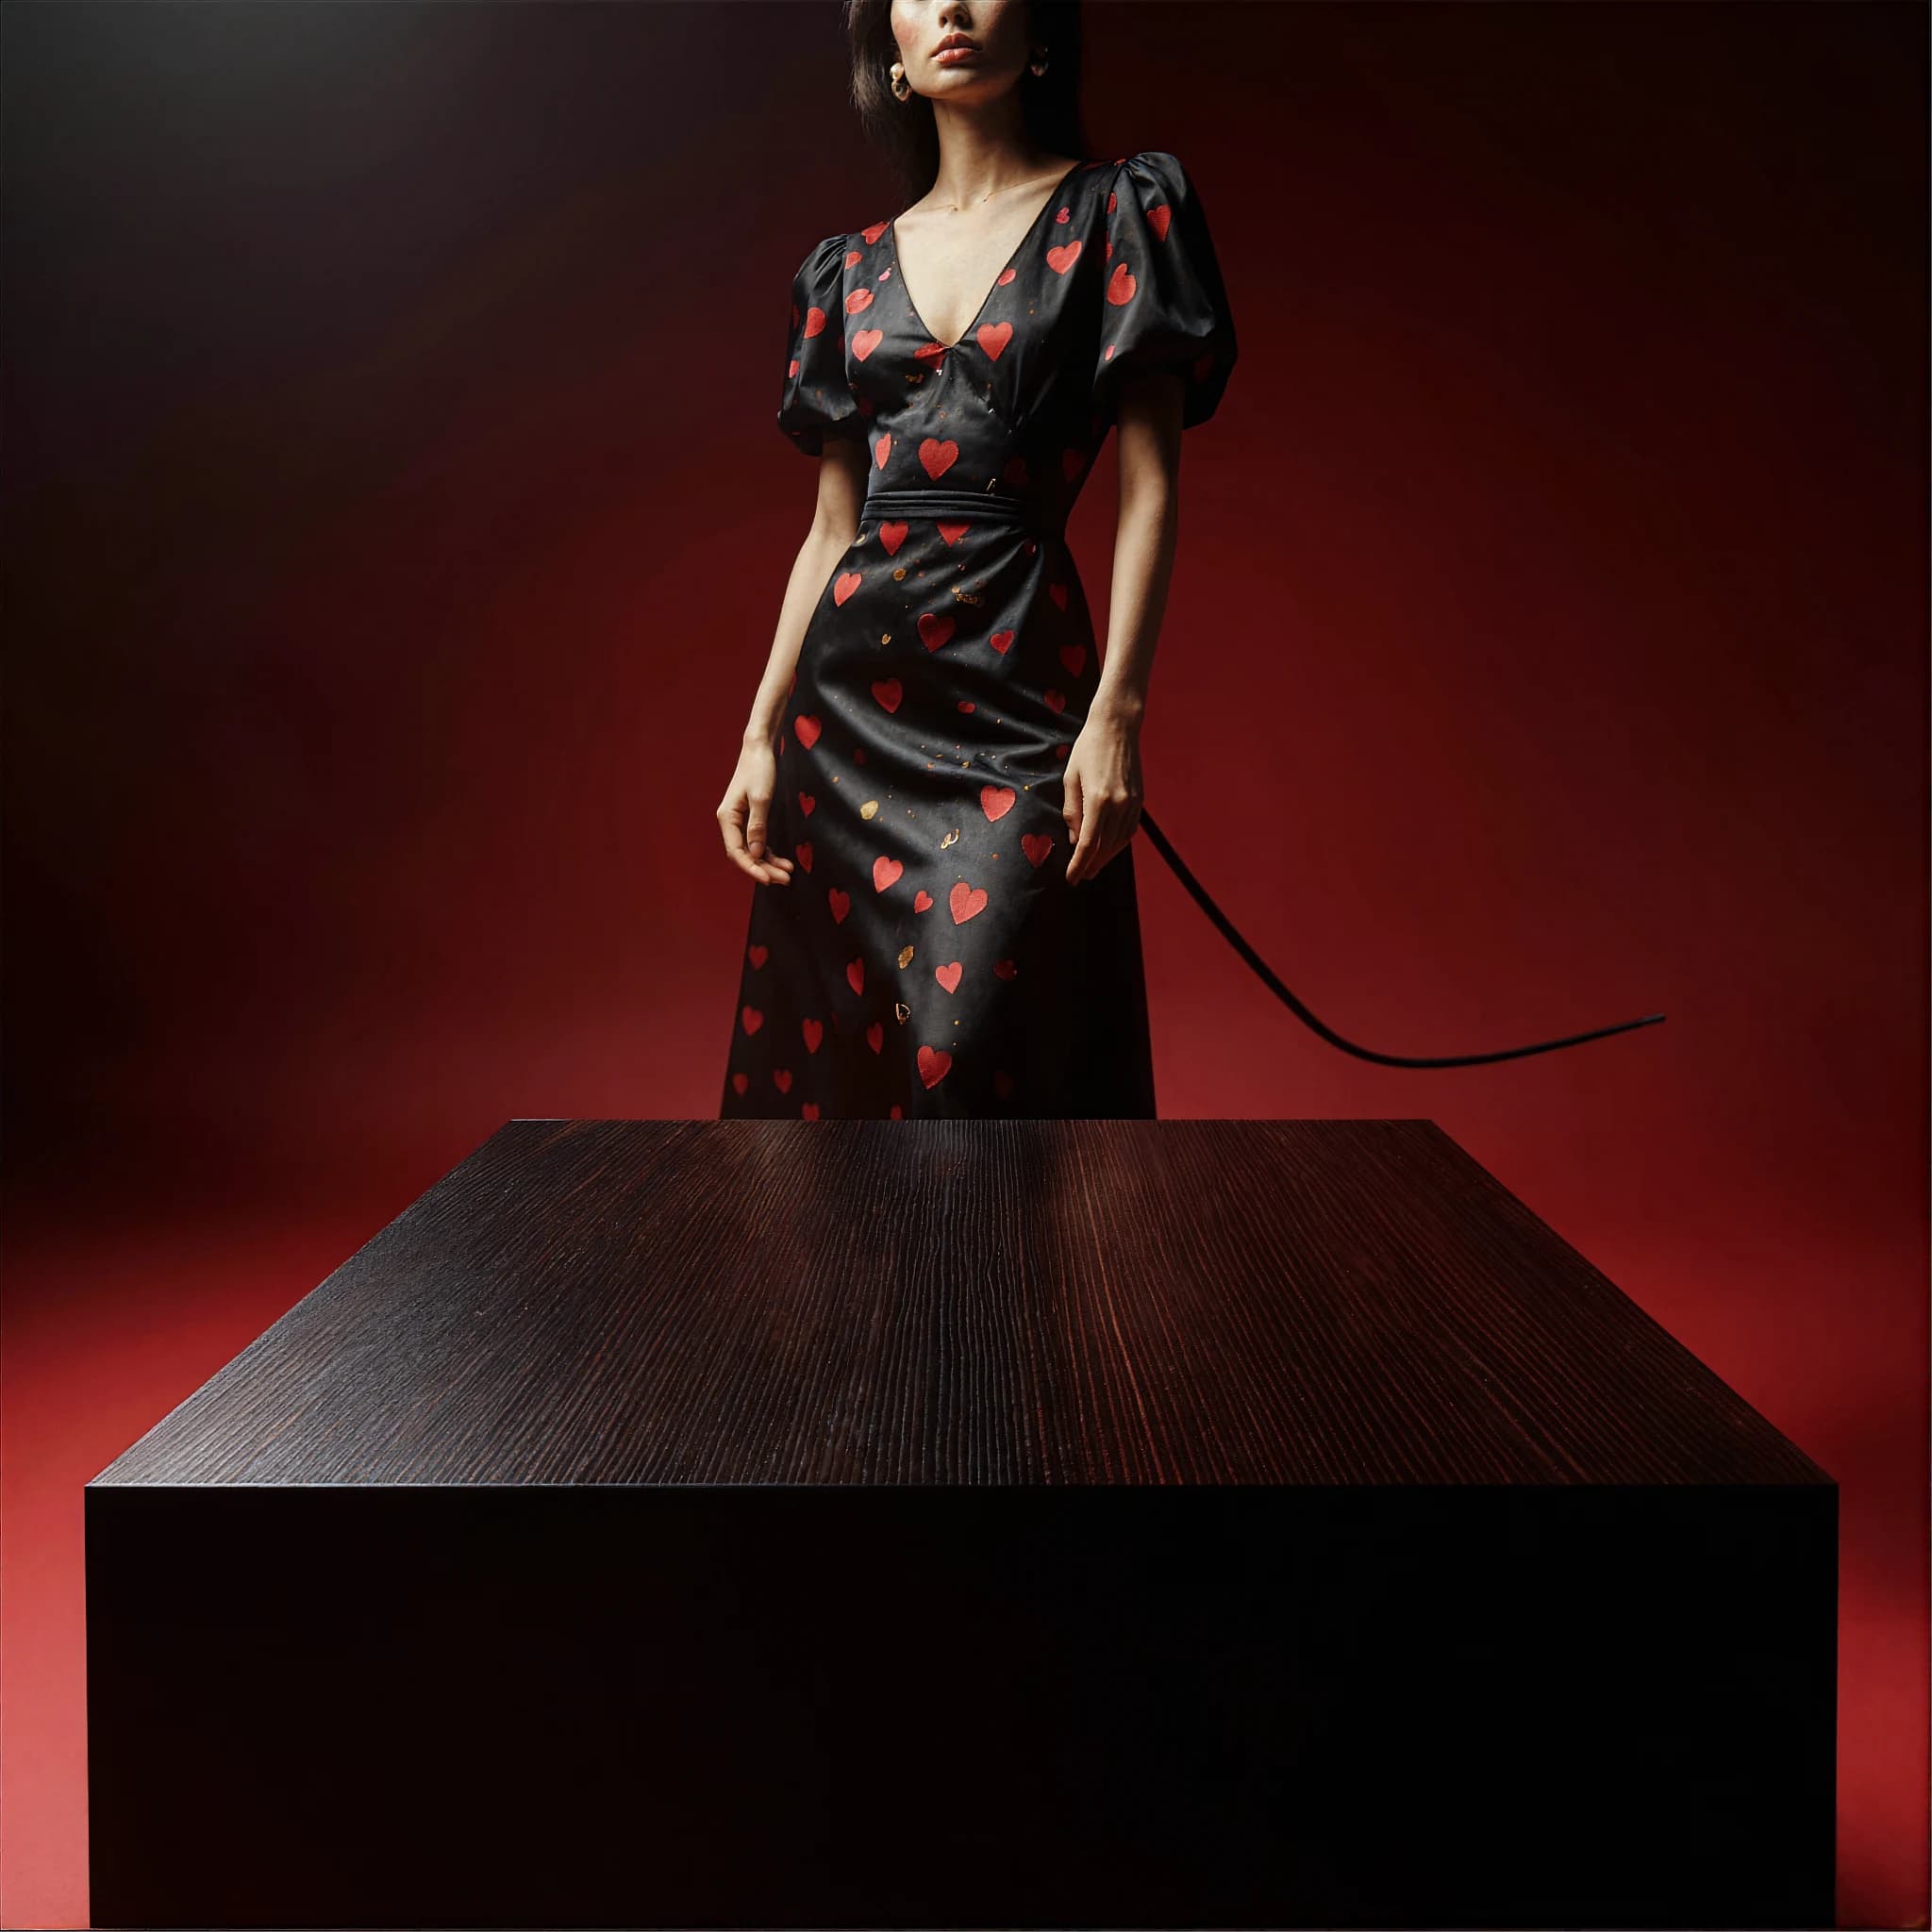
A real product hero image, before and after placement
This example shows the selected red editorial background and the VELMORE bottle composition after Product Studio placement and a 16 MP upscale. Drag the divider to compare the empty table with the finished composition.
The preview demonstrates one result from the workflow. Use it to examine scale, surface contact, lighting, and reflection; review your own output against the original product reference.
See the Nano Banana product photography workflow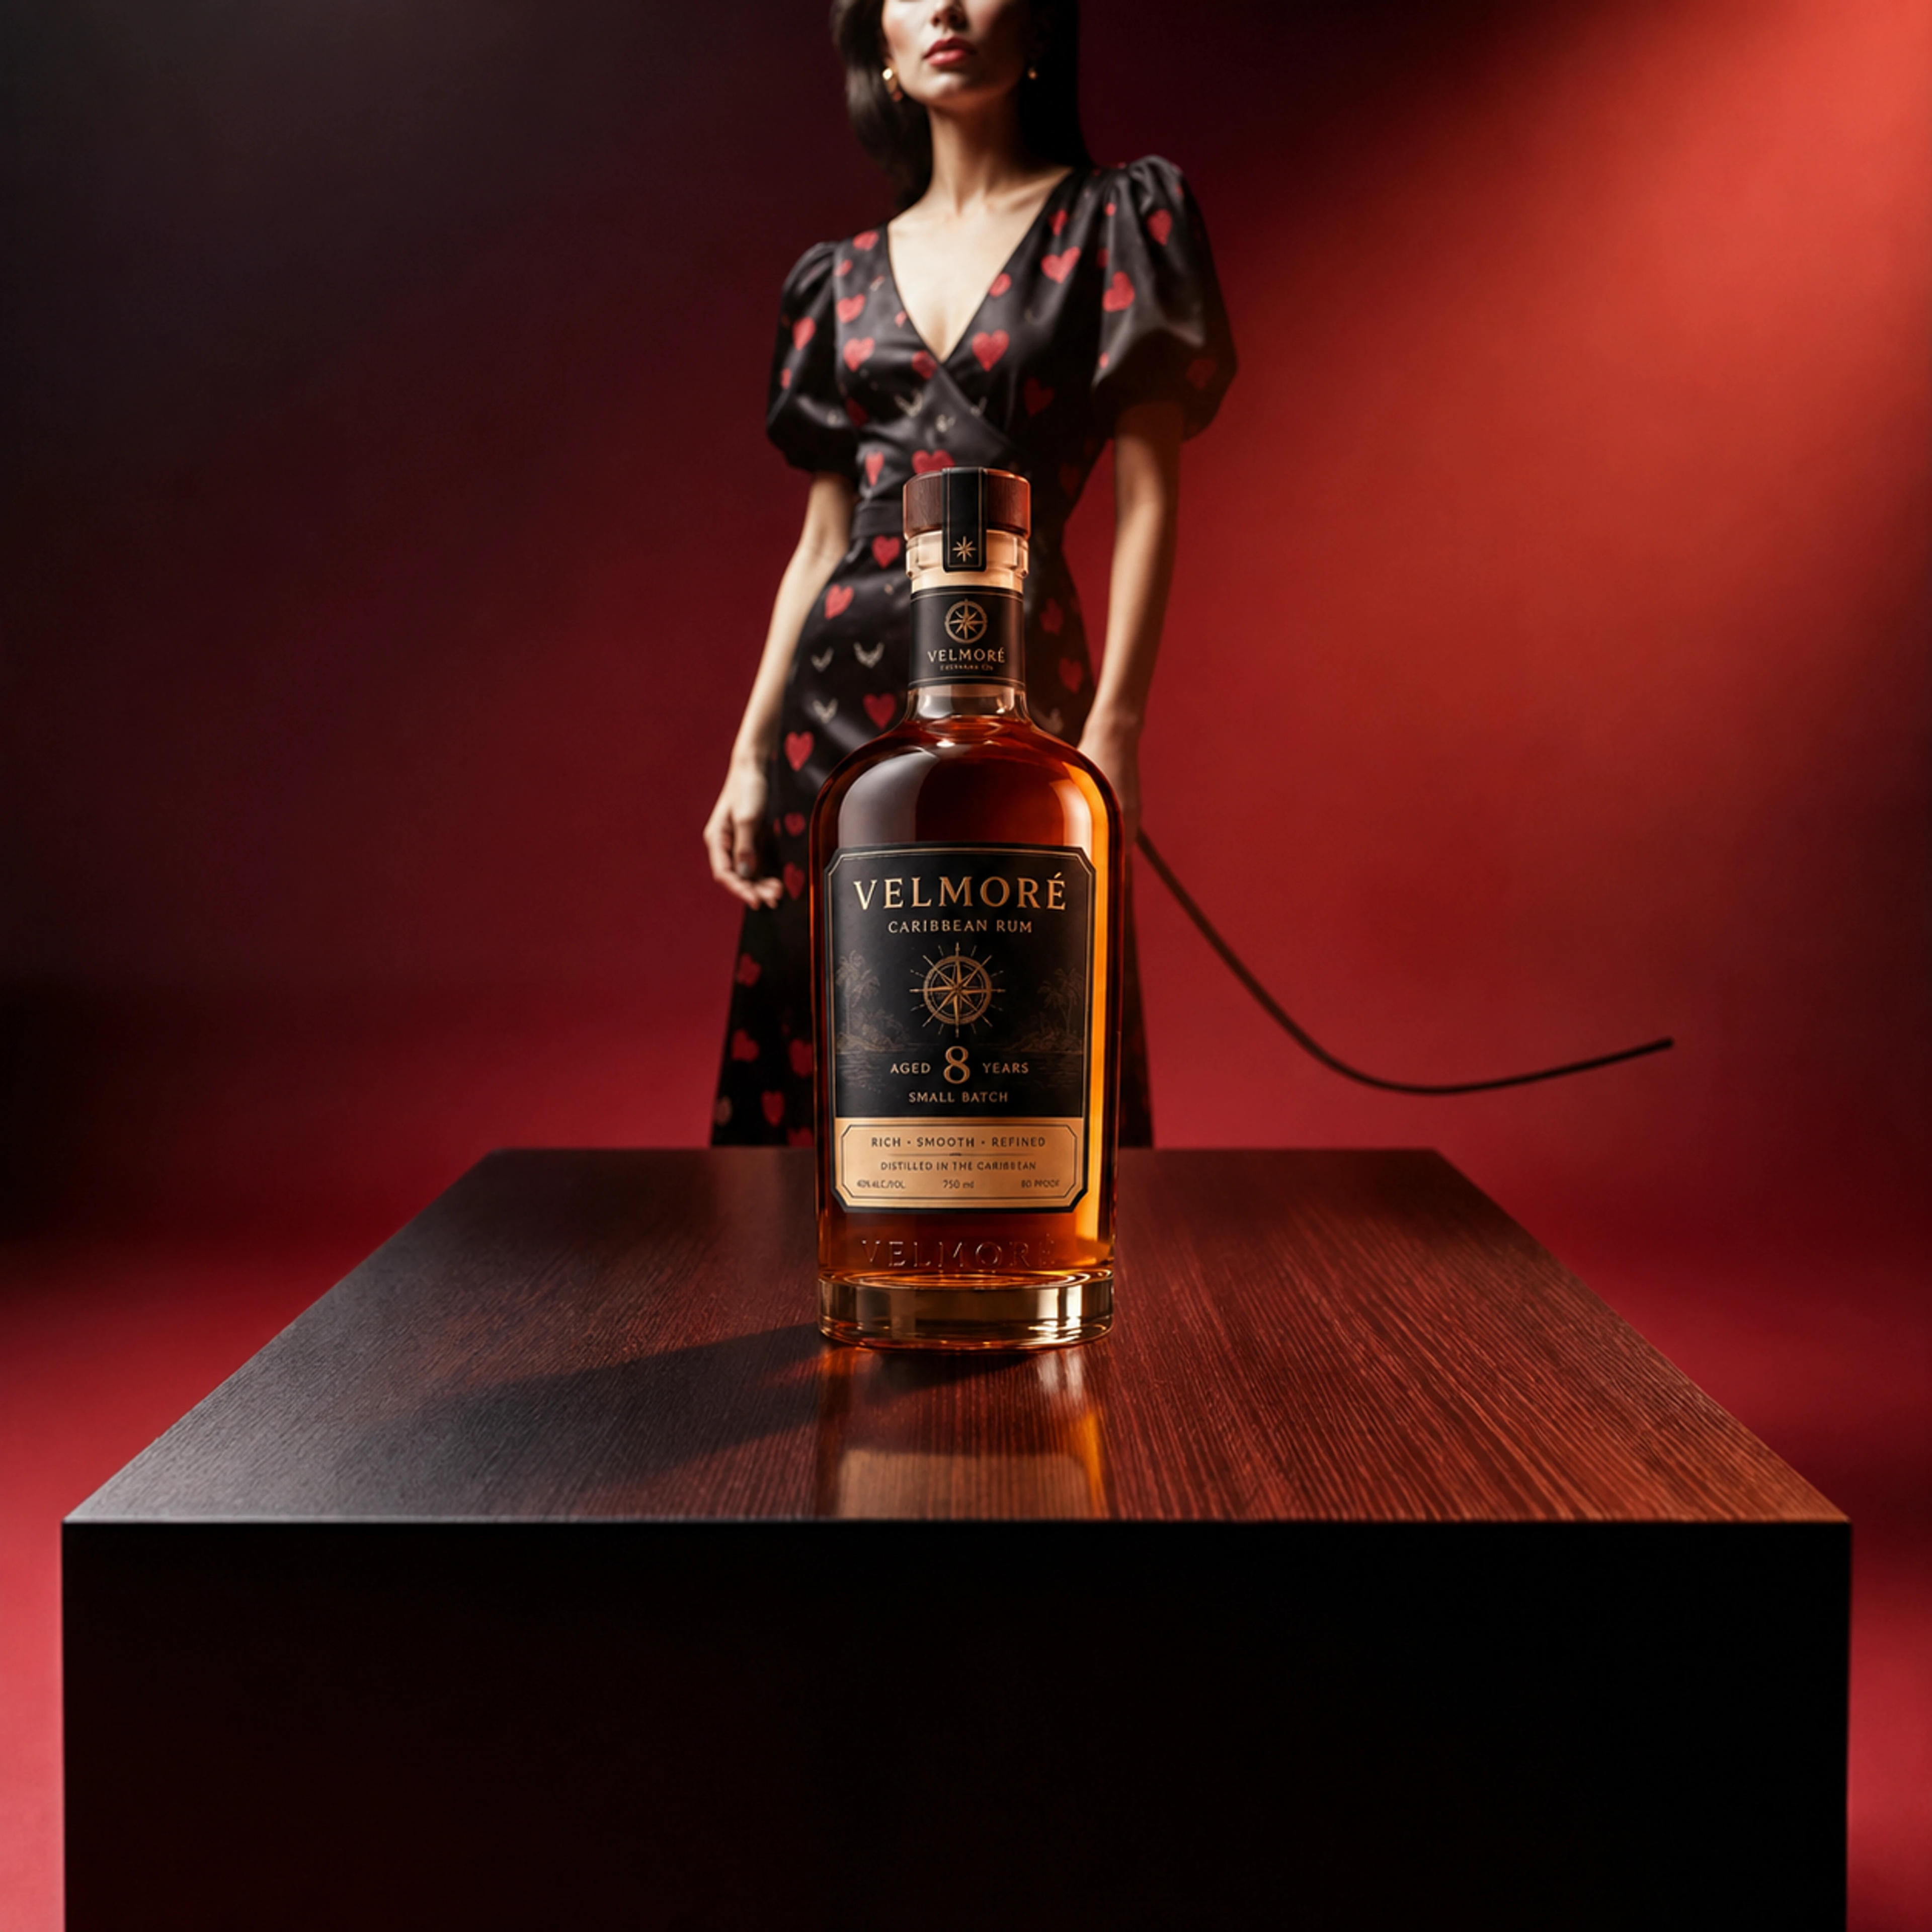 Product placedDrag or use arrow keys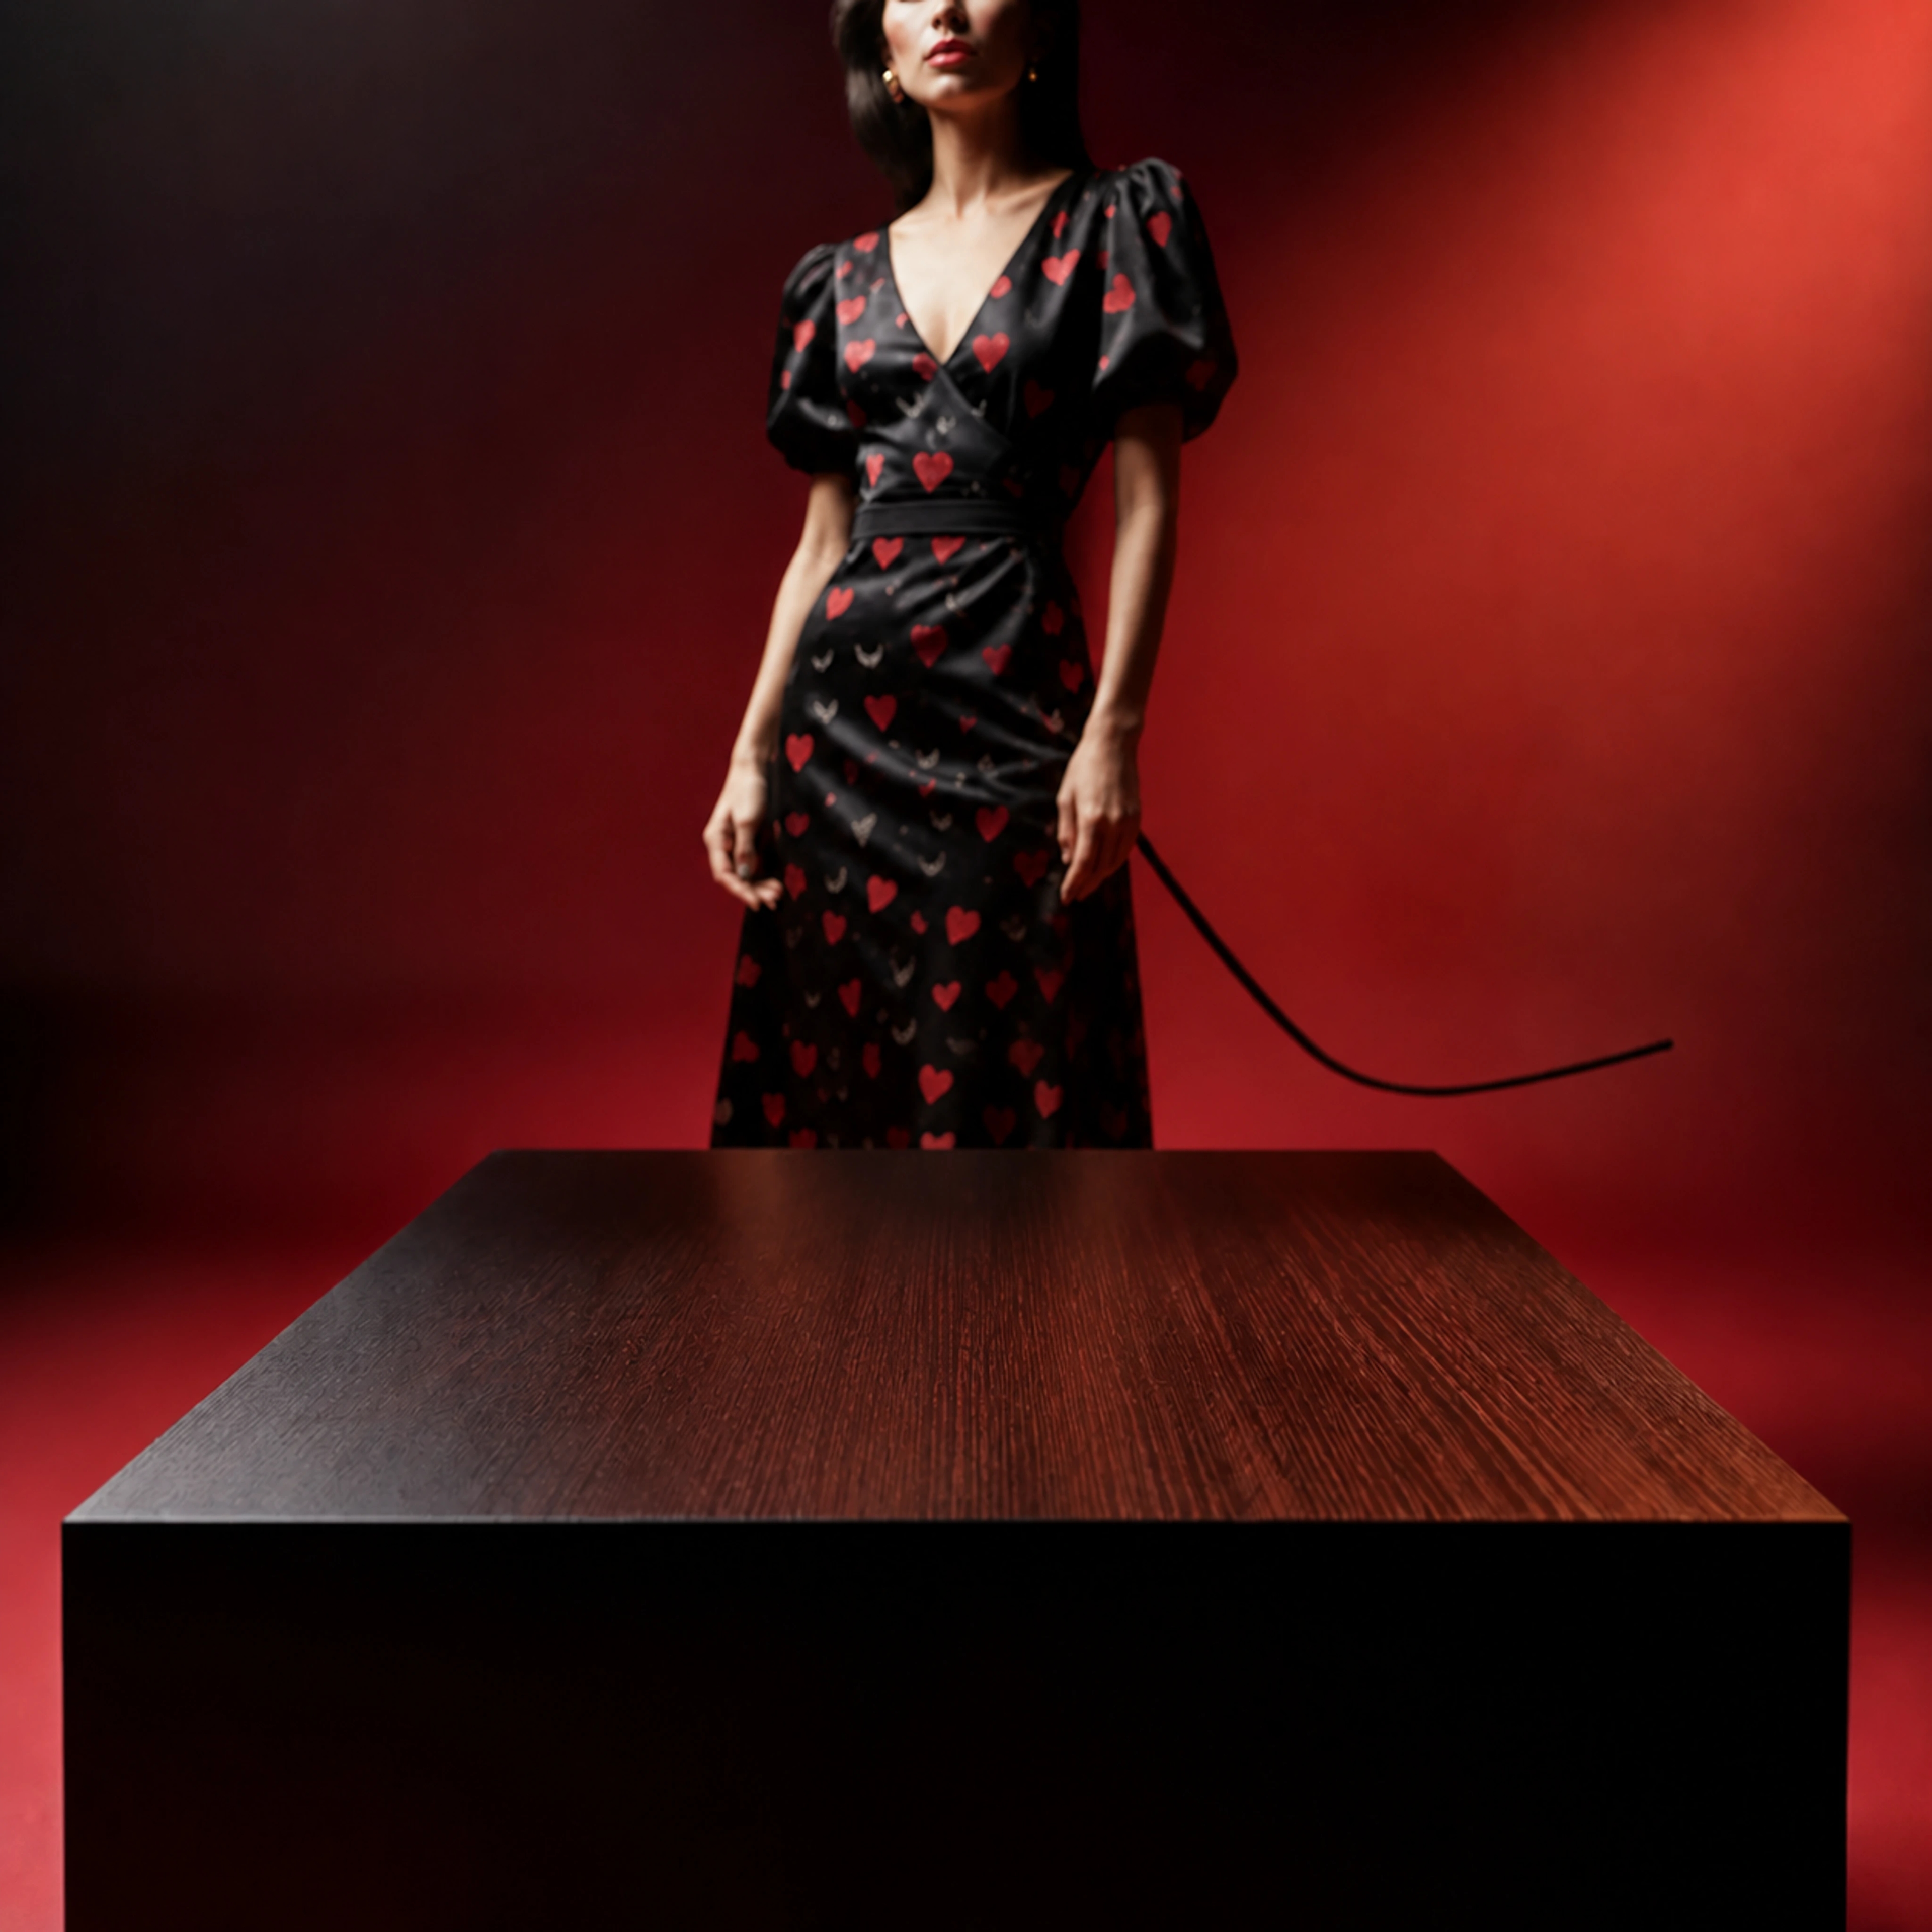
What is a product hero image?
A product hero image is the lead visual that introduces an item on a product page, campaign, or advertisement. It should make the product easy to recognize, communicate its setting or use, and give the viewer a clear focal point. The background supports the product through composition, light, color, and scale.
Auto Studio combines scene planning, background generation, and AI-assisted product placement from your reference. For control over the background, use Create background and then Place product under Manual tools. This manual route lets you approve the setting first. Both routes require comparison with the product reference before enhancement or publication.
Design the AI product background
Start in the generator with a location, foreground surface, lighting, and atmosphere. A skincare bottle might belong on warm stone in a spa; a fragrance could sit on a dark display table in an editorial interior. Describe the camera view and the empty placement area so the scene has a believable surface for your product.
Use a free-form prompt or a built-in template, then select a generated background from your images. People, food, wildlife, architecture, and props can provide context around the placement area. Check the horizon, surface angle, and visual clutter before moving to Product Studio. Choosing a suitable background first gives the placement step a clearer brief.
Add references in Product Studio
Open Place product under Manual tools and select your generated background. Upload one required product reference and, if useful, a second view of the same product. Choose images that clearly show the shape, label, color, and material. The optional second reference helps describe the same item from another angle; it is not a slot for a different product.
Enter the product's real-world size in centimetres or inches to guide its scale. Add art-direction notes for placement, orientation, or the relationship to surrounding props. ProductBackground scenes are designed around products in the 10–35 cm range; the size input provides additional guidance when composing the referenced item into the selected environment.
Generate and review product placement
Product Studio uses the selected image provider for AI-assisted compositing. It uses the selected background, your product references, size guidance, and direction to compose the product with perspective, lighting, contact shadows, and reflections. The standard placement workflow happens inside ProductBackground without requiring a separate image editor.
Inspect the result beside your reference at a useful zoom level. Check label spelling, logo shapes, cap details, proportions, materials, color, scale, and contact with the surface. AI placement is designed to preserve product identity, but it can alter or invent details. A sharp image still needs a fidelity check before it represents a real item in your store or campaign.
Outpaint, upscale, and export
Once you approve the placement, continue through the available outpaint and upscale actions. Horizontal or vertical outpainting extends the environment for wider banners or taller layouts. Upscaling creates a larger image for further production work. Inspect the product again after each enhancement, especially fine lettering, edges, reflections, and small surface details.
Download a PNG for your editing or production workflow, then prepare delivery files for the intended channel. Keep headlines and calls to action editable in your page or design tool. A large production master is useful for finishing, while the published website image should be resized and compressed for its actual display size.
Choose the right ecommerce use case
Product hero images can support product-detail pages, category banners, seasonal campaigns, email, and paid social. Use an environment that explains the product's positioning: a restrained studio for material detail, a lifestyle setting for context, or a more expressive scene for a launch. Leave room for surrounding copy and check the crop on mobile as well as desktop.
Review each destination's image requirements before export. A lifestyle composition may suit a supporting product image or advertisement, while a primary listing may need a different background or framing. Product Studio supports creating and reviewing compositions; it does not automatically produce approved marketplace listings or batch-export every channel format.
Do I need Adobe Photoshop software?
No separate editor is required for standard Product Studio placement. A layer-based editor such as Adobe Photoshop software can still help with precise corrections and final campaign layouts. If a label, packaging detail, or product shape must be reproduced exactly, use controlled manual compositing, CGI, or photography for that asset. Choose the method according to the accuracy the finished image requires.
Can I place two different products?
Product Studio uses one required reference and an optional second view of the same product. Supply another angle when it reveals details that are difficult to see in the first image. The workflow is intended for one referenced product, rather than two independently specified products in the same generation.
Create your next product hero image
Choose a generated background, add your product reference, and direct the placement in Product Studio.
Open Product Studio