
Nano Banana Product Photography: A Practical Product-Placement Workflow
Design the environment first, then use Nano Banana Pro inside Product Studio to place a referenced product into the selected scene.
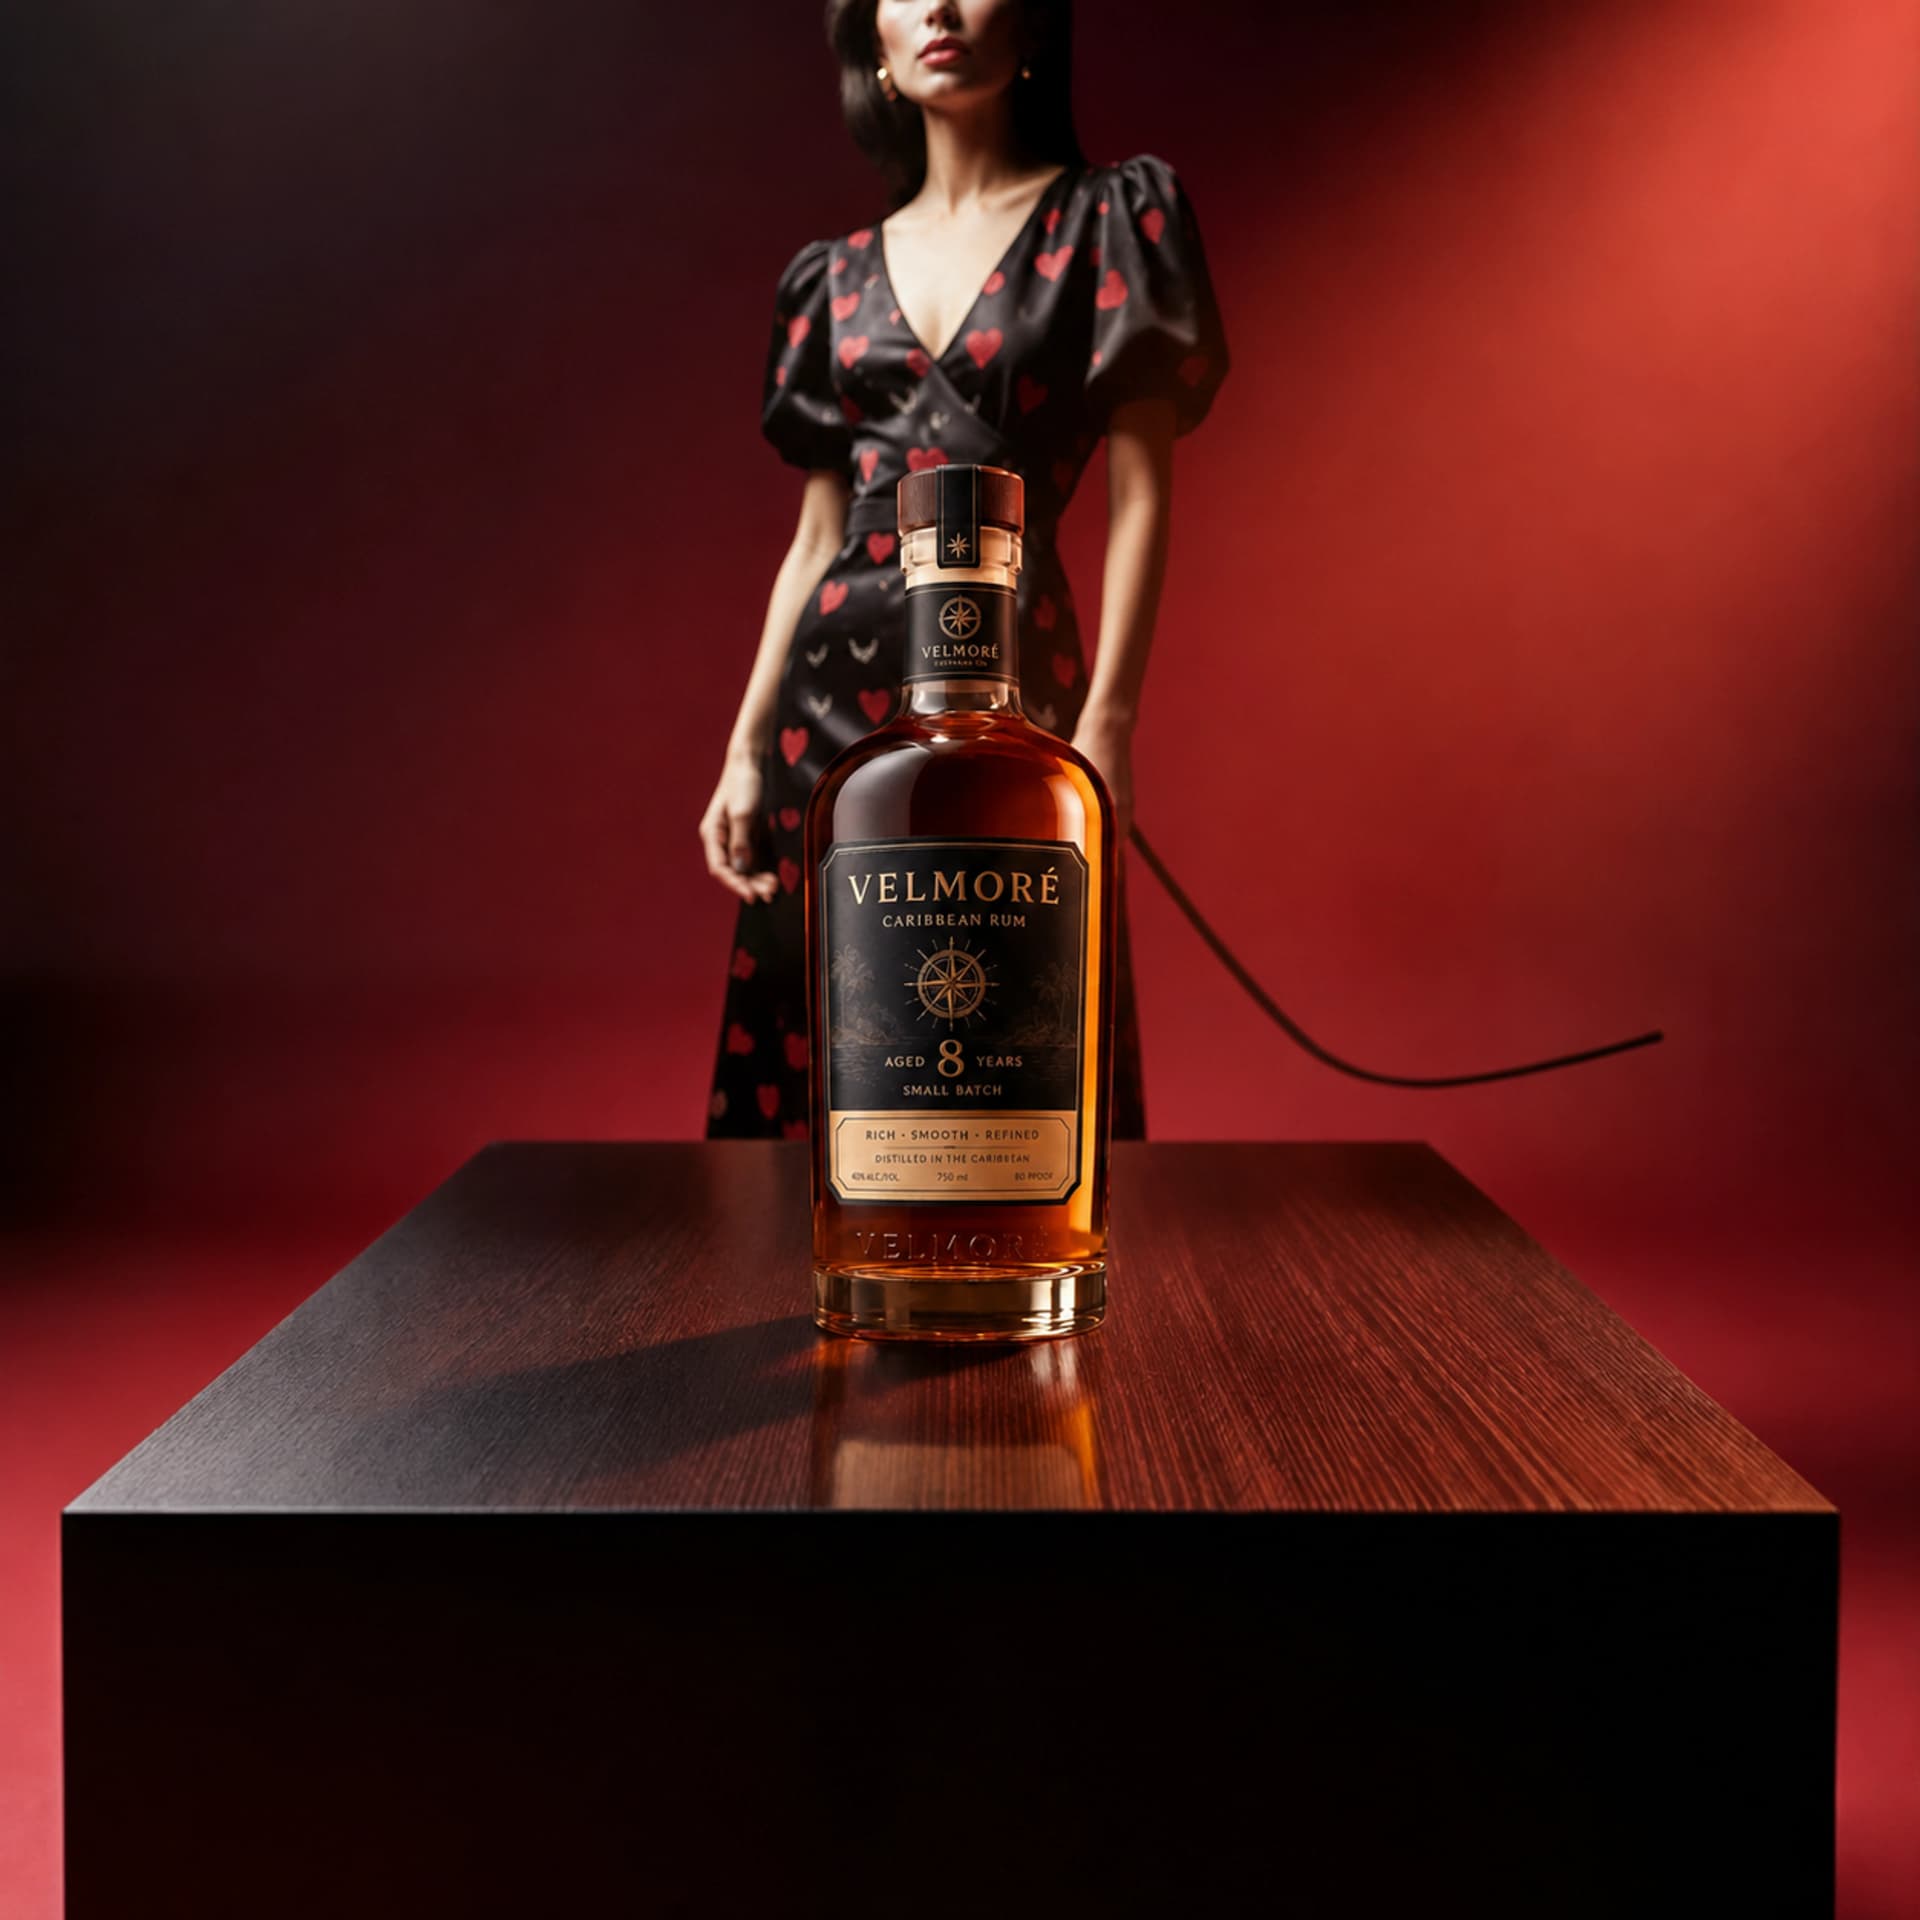
Nano Banana product photography can do more than create a product-like image from a prompt. With a controlled workflow, it can place a real product reference into a deliberately designed scene.
ProductBackground combines its scene-generation workflow with Nano Banana Pro inside Product Studio. You first create or select the environment. You then provide one or two views of the same product, add optional art direction, and let the model compose that product into the scene.
This creates a clear two-stage production contract: design the world around the product, then perform AI-assisted placement inside that approved world. The environment, product references, placement instructions, and final composition can each be reviewed at the appropriate point.
Before / after
See Product Studio place the product.
Drag the divider to compare the selected empty scene with the Nano Banana Pro placement. The background stays fixed while the referenced bottle, contact shadow, and reflection are composed onto the table.
Product placedDrag or use arrow keys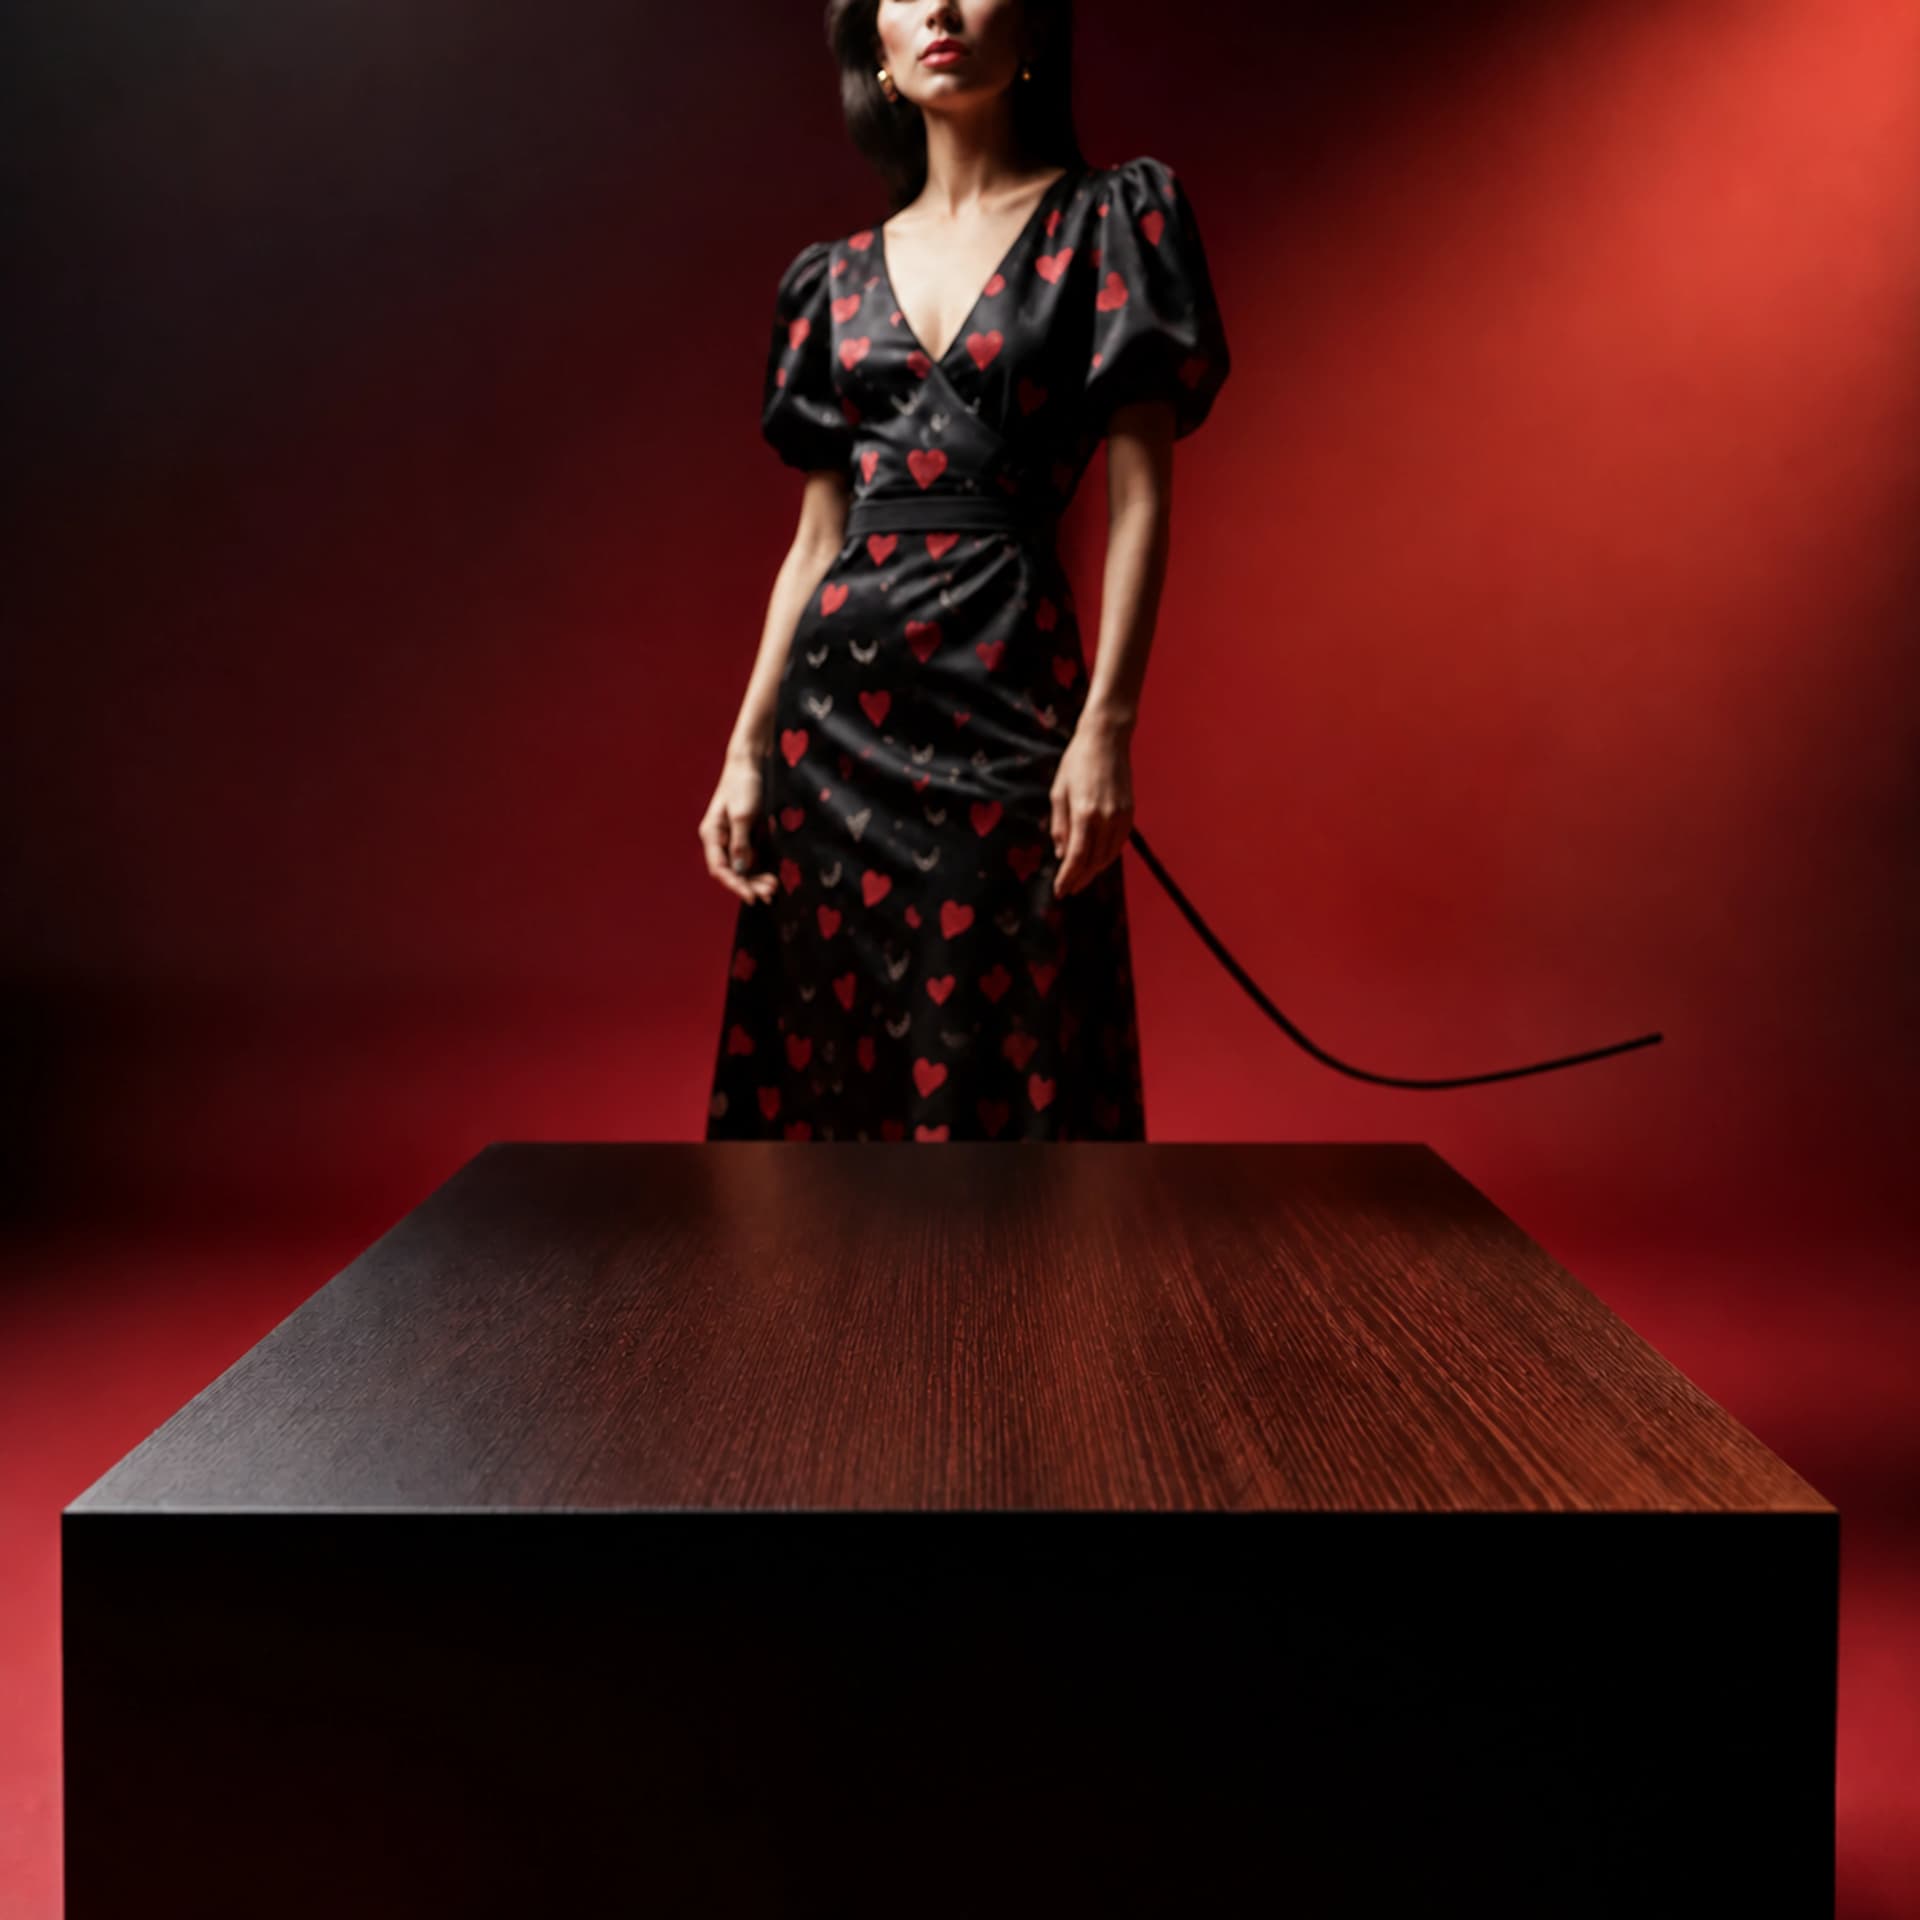
The model
What is Nano Banana Pro?
Nano Banana Pro is the product name Google uses for Gemini 3 Pro Image, available through the Gemini API as gemini-3-pro-image.
Google describes the model as suitable for professional asset production and complex visual instructions. It supports image generation and editing at resolutions up to 4K. ProductBackground uses it as the placement engine inside Product Studio.
The model receives the selected background, the product references, and any optional art direction. It is instructed to create one product placement while accounting for scale, perspective, light, contact shadows, reflections, and interaction with the surrounding surface.
Google Gemini image-generation documentationCreative control
Why ProductBackground separates the scene from the placement
A one-shot prompt gives the model responsibility for the setting, composition, product design, label, camera angle, lighting, and placement at the same time. That can be useful for concepts, but it also makes failures harder to diagnose.
ProductBackground separates those decisions. In the first stage, you evaluate the environment on its own: architecture, foreground surface, lighting direction, perspective, visual hierarchy, and copy space.
In the second stage, Product Studio uses Nano Banana Pro to place the referenced product into the selected scene. The background becomes a concrete visual input rather than another description the model must recreate.
This keeps the scene-generation flexibility ProductBackground was built around while removing manual compositing as the standard placement step.
Real workflow
From product reference to a 16 MP final image
This example shows the inputs and outputs separately. Product Studio receives the approved bottle reference and the already selected background, then performs the AI-assisted placement inside that scene. The approved composition can subsequently move into ProductBackground's upscale workflow.

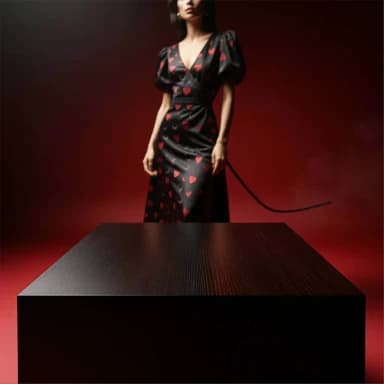
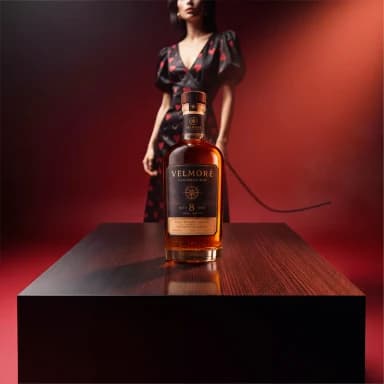
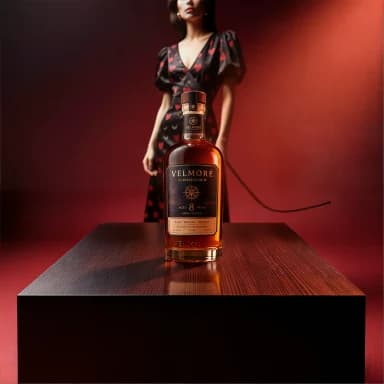
The final image above represents the 16 MP upscale stage. The embedded version is intentionally a smaller web preview; the high-resolution master remains the delivery asset.
Six steps
How Nano Banana product photography works in Product Studio
- 01
Generate or select a background
Start in Build & Enhance. Create a scene for the product category, channel, and campaign, or choose one of your completed generations. Review the surface, camera angle, light direction, palette, and available copy space before placement.
- 02
Open Product Studio
Choose the generated background you want to use. The scene establishes the composition and working format for the placement. Product Studio keeps the result compatible with the subsequent upscale and outpaint workflows.
- 03
Add one or two product references
Upload one required product image and, when useful, a second view of the same product. The second slot is another reference angle, not a way to add a different product. Clear, unobstructed references give the model better evidence about identity, materials, shape, and labels.
- 04
Add optional art direction and size
Describe the preferred position, surface, prominence, lighting interaction, or copy space. You can also provide the product's real-world size in centimetres or inches to give the model another scale reference.
- 05
Create the composition
Product Studio sends the selected scene, product references, and optional art direction to Google's paid Gemini API. Nano Banana Pro performs a 4K image-generation request, and ProductBackground returns the composition in the selected background's supported working format.
- 06
Review before delivery
Inspect the result at full size before using it in an advertisement, store listing, catalogue, social post, or client delivery. Continue with upscale or outpaint only after the product and its relationship to the scene pass review.
If the result does not pass review, revise the art direction, choose another background, improve the product reference, or use a manual production method for the final asset.
Direction
Practical prompts for the scene and placement
The background prompt should concentrate on the environment and reserve a physically plausible area for the product:
Create an empty premium product-photography environment for a 30 cm skincare bottle.

Use a warm limestone surface with a softly textured beige studio wall. Light the scene from the upper left with a large diffused source. Keep the lower centre clear for the product and preserve generous copy space on the right.

Use a frontal camera angle with natural perspective. Do not include a product, package, logo, label, text, placeholder bottle, or unrelated foreground object.
Once the background is selected, keep the optional Product Studio direction focused on placement and light interaction:
Place the product on the front-left area of the limestone surface.

Make it the dominant subject while preserving the copy space on the right. Match the warm light from the upper left and create a soft, physically plausible contact shadow. Keep the product upright and preserve its supplied camera angle.
Avoid instructions that conflict with the reference, such as asking the model to make the bottle taller, replace the cap, or redesign the label. Art direction should control the placement, not redefine the product.
Approval
Product-fidelity review checklist
Product Studio is designed to preserve the supplied product, but a generative model cannot guarantee pixel-exact reproduction. Review fidelity separately from the overall attractiveness of the image.
Check its shape, spacing, placement, and orientation.
Verify important words, numbers, warnings, and ingredient details.
Compare height, width, profile, cap, handle, nozzle, and closure.
Confirm product and brand colours against the approved reference.
Inspect the behaviour of glass, plastic, metal, paper, fabric, and gloss.
Judge the product against nearby objects, furniture, and surfaces.
Make sure the supplied product angle belongs in the selected scene.
Confirm the product sits on the surface rather than floating or sinking.
Match their direction, softness, and intensity to the environment.
Check that they suit both the product material and the surface.
Reject added packaging, accessories, products, text, or branding.
A visually convincing result can still be commercially unsuitable if it changes an approved detail. A named reviewer should compare the final image with the real product reference before publication.
Production limits
When manual compositing, CGI, or photography is better
Nano Banana Pro can reduce manual placement work, but it is not the correct production method for every asset. Use a controlled manual process when:
- Packaging text must remain pixel-exact.
- The image is an official or regulated packshot.
- Legal, medical, safety, or compliance information is visible.
- Transparency, refraction, or reflections must be physically exact.
- The product interacts closely with liquids, fabrics, hands, or moving parts.
- Several assets must share an identical camera and lighting setup.
- The client's production rules prohibit generative processing.
The meaningful choice is not between AI and professional work. It is how much visual variation the project can accept, which details must remain exact, and how the final image will be approved.
Transparency
Privacy and product-reference responsibilities
When you use Product Studio, the selected background, product reference images, and optional art-direction text are processed through Google's paid Gemini API.
ProductBackground stores the result and relevant technical metadata with your private creation. The application does not send its API credentials to the browser and does not enable Google Search grounding for Product Studio.
You must have the necessary rights to process uploaded product images. When two reference views are supplied, they must depict the same product. You remain responsible for reviewing product identity, labels, trademarks, geometry, and commercial suitability before publication.
Quick answers
Frequently asked questions
Does ProductBackground use Nano Banana?
Yes. Product Studio uses Nano Banana Pro, also known as Gemini 3 Pro Image, to place a referenced product into a selected ProductBackground scene.
Do I still need Photoshop?
Not for the standard Product Studio workflow. A layer-based editor may still be appropriate for pixel-exact corrections or tightly controlled production assets.
Can I upload two different products?
No. Product Studio accepts one required reference and an optional second view of the same product. The second image helps the model understand that product's identity and details.
Does a 4K model guarantee an accurate product?
No. Resolution and fidelity are separate concerns. Every result must still be reviewed for labels, proportions, materials, colors, and logos.
Can I continue editing the result?
Yes. Product Studio keeps the result compatible with ProductBackground's upscale and outpaint workflows.
Bottom line
Build the scene. Place the product. Review the result.
ProductBackground lets you establish the environment first and use Nano Banana Pro for the placement step. You retain control over the scene, references, art direction, scale information, and final approval while the model handles visual integration.
The result is a practical Nano Banana product-photography workflow built around review rather than a promise that one prompt will solve every production requirement.