
ProductBackground workflow guide
Enhance: Add Detail or Expand Your Product Scene
A finished scene may need more pixels, more room around the subject, or a different shape for its final placement. Enhance gives those finishing decisions their own workspace, with your selected images, a large preview and the available tools together.
· 6 min read · ProductBackground
Feature availability and prices can vary. Check the current options in your workspace before starting.
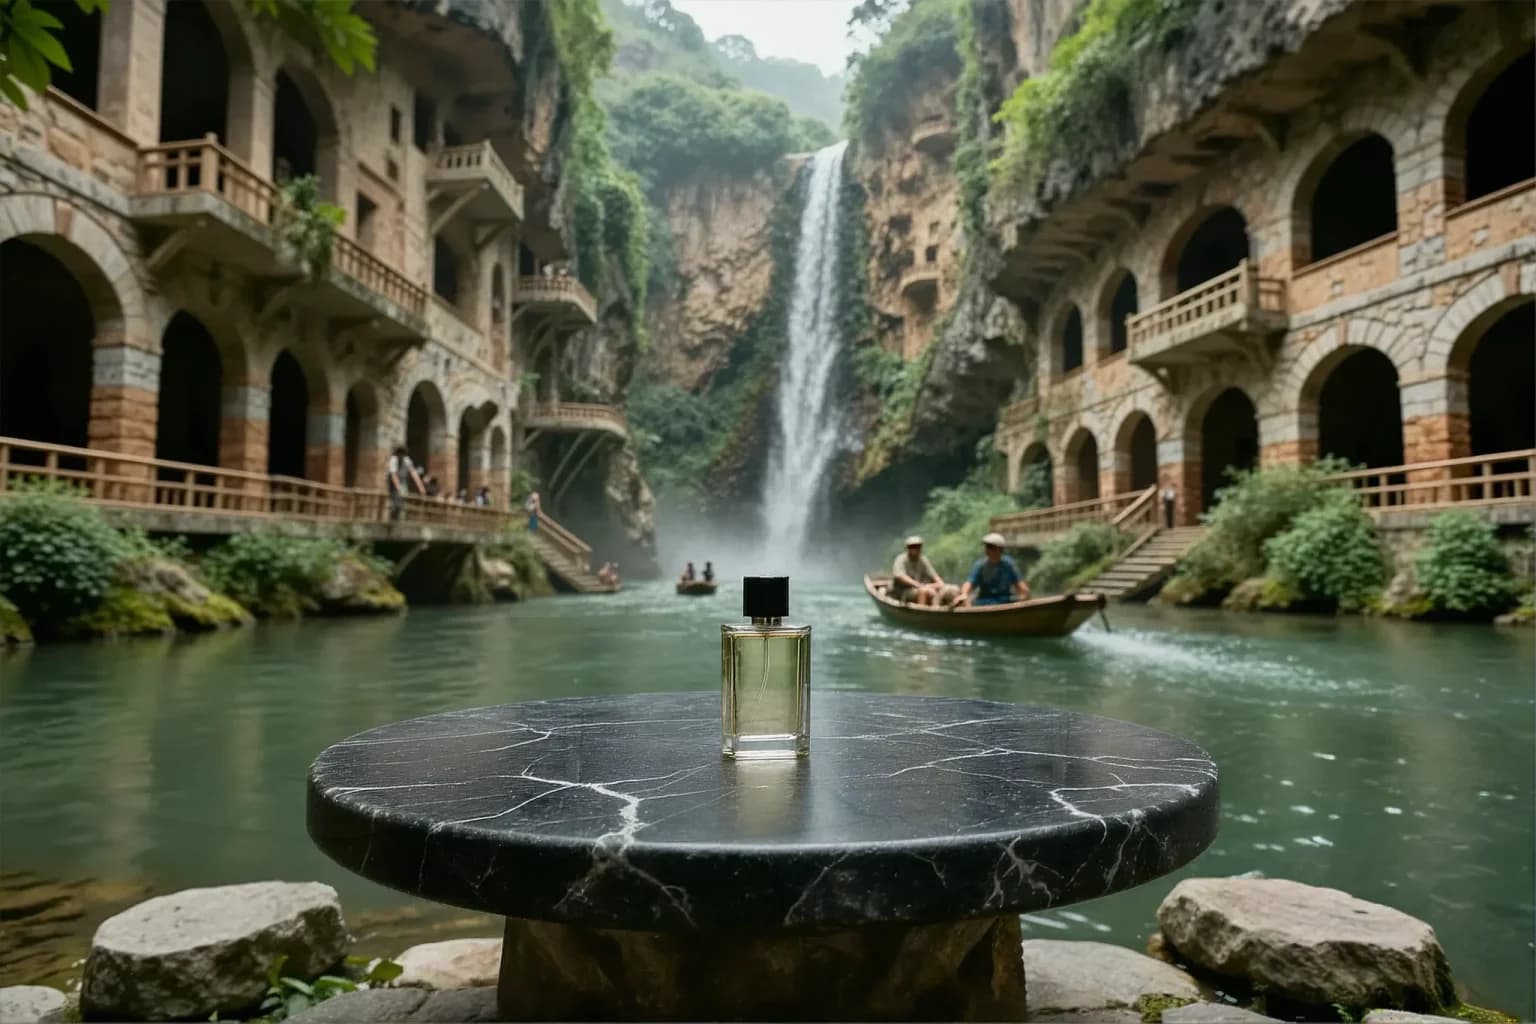
1. Decide what the image is missing
Choose Upscale when the framing works and you need a larger output. Choose Expand when the layout needs additional scene content at the sides, top or bottom. These operations solve different problems: a larger file does not automatically create space for a headline.
A product scene intended for a wide campaign banner might need horizontal expansion. A scene that already fits its layout but looks too small at the required delivery dimensions is a candidate for upscaling. If the product itself is wrong, return to the composition or reference first.
| What you need | Start with |
|---|---|
| More pixels with the same framing | Upscale 2× or 4× |
| More content to the left and right | Expand horizontally |
| More content above and below | Expand vertically |
2. Select your images and inspect the source
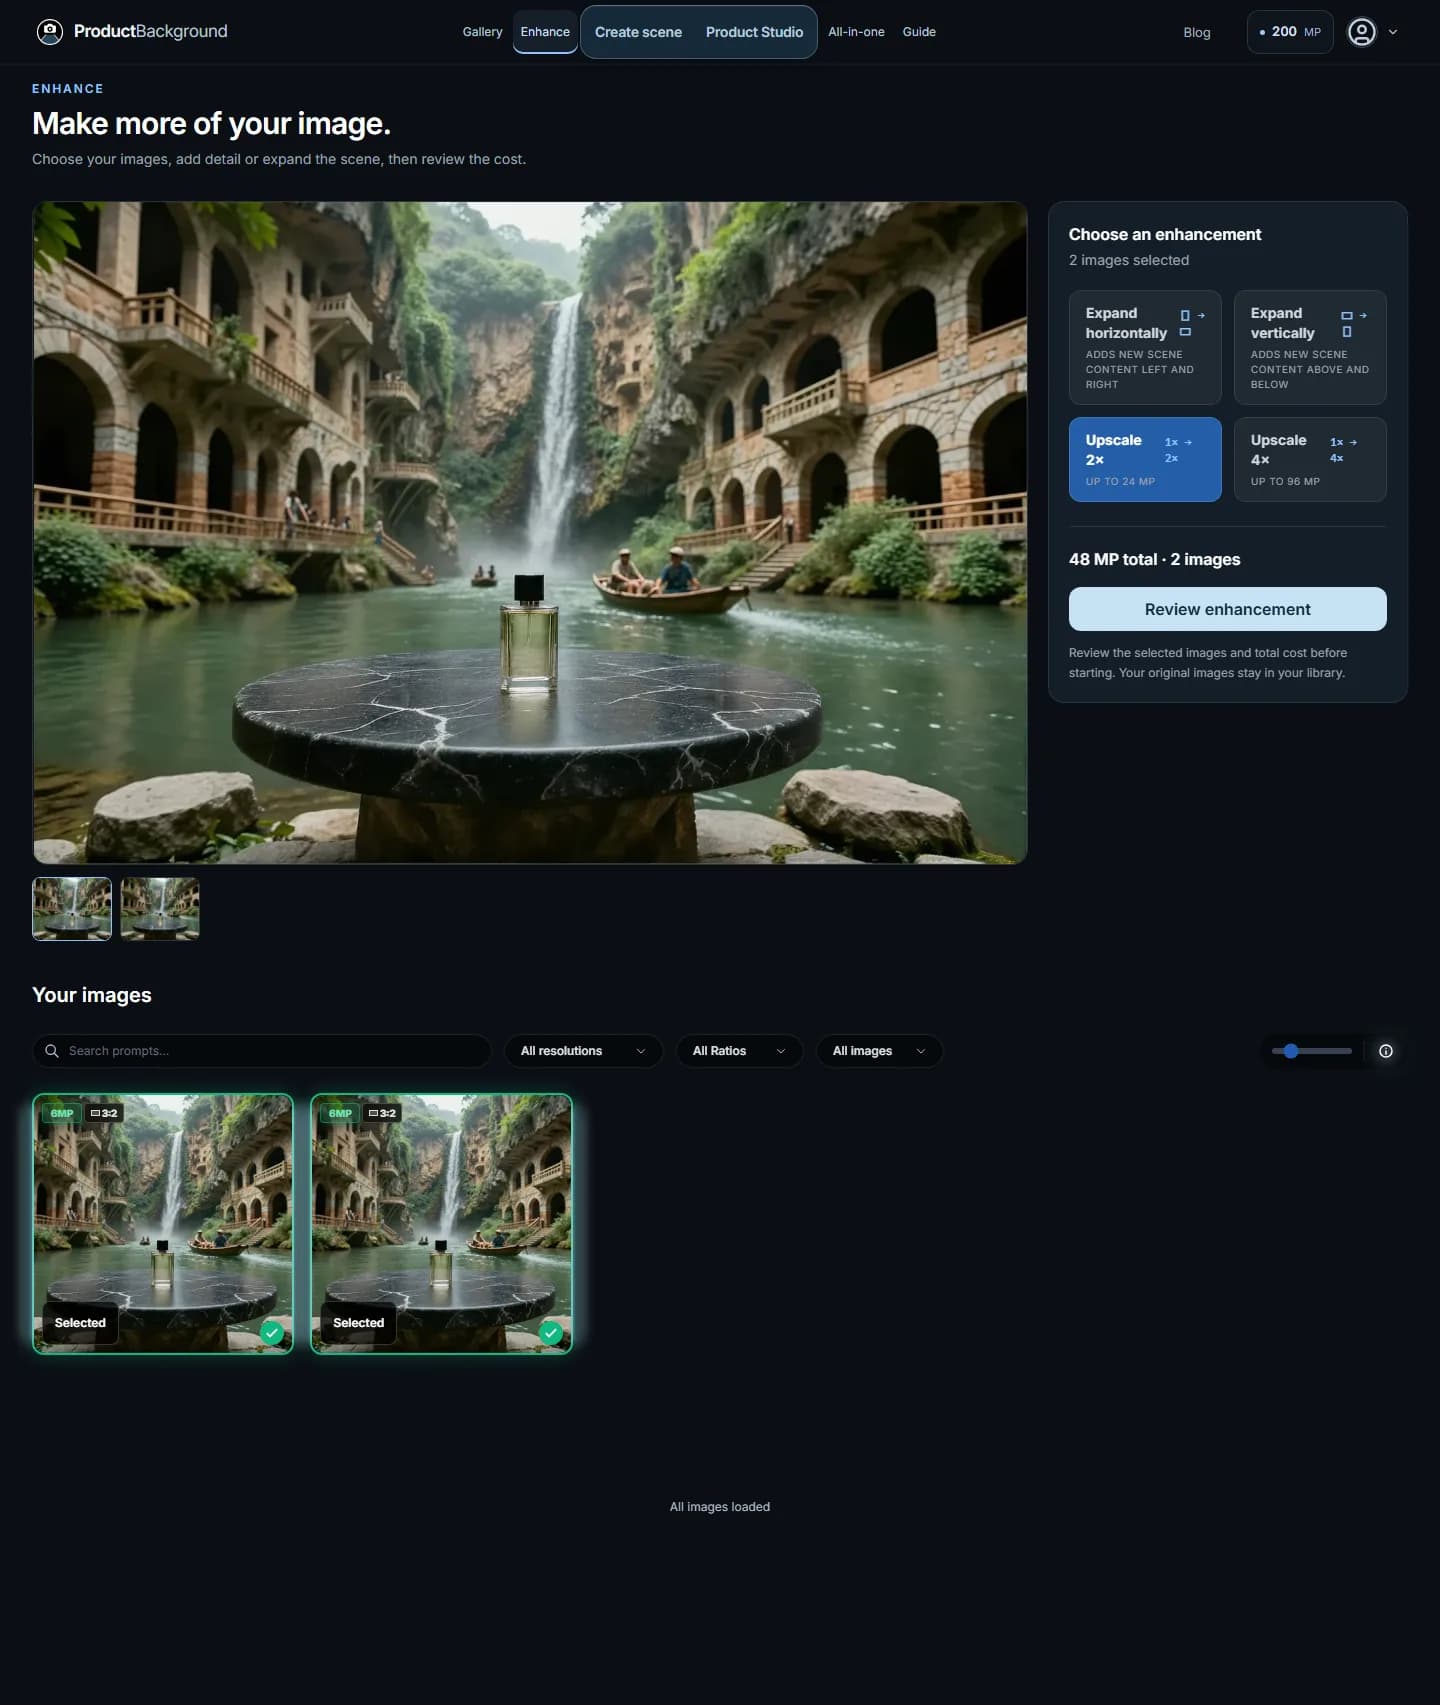
Open Enhance beside Gallery in the header. Sign in to load your images, then select one or several completed outputs from the image library. The tools remain visible before selection, so you can see which actions are available.
The large preview shows a selected image. When you select several, use the thumbnails below it to switch the preview. The selected count in the tool panel is the batch size: changing the preview does not reduce the batch to that one image.
You can also begin in the Gallery below Create scene and choose Open in Enhance. Your selection carries across. The original Gallery and its embedded tools remain available, so you can finish a quick operation there or move into the dedicated workspace for a closer look.
3. Upscale to the size you actually need
Choose Upscale 2× or Upscale 4× and read the target megapixel information. A linear increase in width and height increases the total pixel count more quickly: doubling both dimensions produces four times as many pixels.
The actual target depends on the source and the available workflow. Small sources can use a dedicated high-resolution step, so treat the displayed target as the guide rather than assuming every source follows the same multiplication. Actions that exceed the supported limit or do not support a selected source are disabled.
For a mixed batch, inspect every selected image. If one source prevents the action, deselect it or process compatible sources separately. Use the smallest output that meets the intended placement; a larger master can be useful, but a website still needs an appropriately sized delivery image.
Upscaling can change fine details. Inspect labels, thin edges, texture, faces and reflections after processing. It cannot verify unreadable text or establish details missing from the reference.
4. Expand with the final layout in mind
Expand horizontally adds scene content left and right. Expand vertically adds it above and below. Decide where the product and any overlaid text need to sit before choosing the direction.
Expansion is a generative operation, not a simple blank-canvas resize. Review the transition into the new area, perspective lines, repeated objects, lighting and the edge of the surface beneath the product.
The current outpainting workflow can crop a non-square source to square before expansion and reduce sources above 6 MP to 6 MP. Read the crop and resolution warnings shown before starting. This matters if essential packaging or a carefully positioned subject is close to an edge.
If you need both additional space and a larger final image, expand first, inspect the framing, then decide whether an upscale is still necessary. The hero image size guide covers desktop and mobile layout choices.
5. Review the batch cost, then check the output
After selecting an action, review the number of images and the total MP usage. Choose Review enhancement to open the existing confirmation, check the sources and warnings, and confirm only when the batch matches your intention. Selecting a tool by itself does not submit a job.
Your originals stay in the library. Enhancements use the existing queue, and completed results appear in the shared image collection. New images do not automatically replace an unrelated selected source while you are reviewing it.
If images fail to load, use Try again. If an image preview is unavailable, retry that preview. A failed submission restores the selection and chosen action so you can review the state before retrying; follow any queue status or error message rather than repeatedly starting new batches.
Before exporting, inspect the final result at a useful zoom and in its intended layout. Compare the product with the reference, not just with the previous generated image: small changes can accumulate across steps.
Common questions
Has Enhance replaced the Create scene Gallery?
No. The Gallery remains under Create scene. Enhance is an additional workspace that shares its image selection and available finishing operations.
Can I upload a new image directly here?
This version selects completed images from your existing library. Start a product composition in Product Studio or create a background in Create scene first.
Can I use it after All-in-one?
Once a completed composition is available in your library, select it and check the supported actions. Read the All-in-one guide for the scene-creation steps.