
Approved product · generated environment
How to make product photos look professional with Adobe Photoshop software
A professional composite is not a cutout placed on a beautiful background. Product and environment must agree about camera, scale, contact, light, reflection, color, and delivery size.

Before compositing
What you need
An AI backplate reduces environment-production time. It does not remove the need for a controlled product asset, clear review ownership, or deliberate integration.
- 01An approved high-resolution product image
- 02A clean mask or transparent product layer
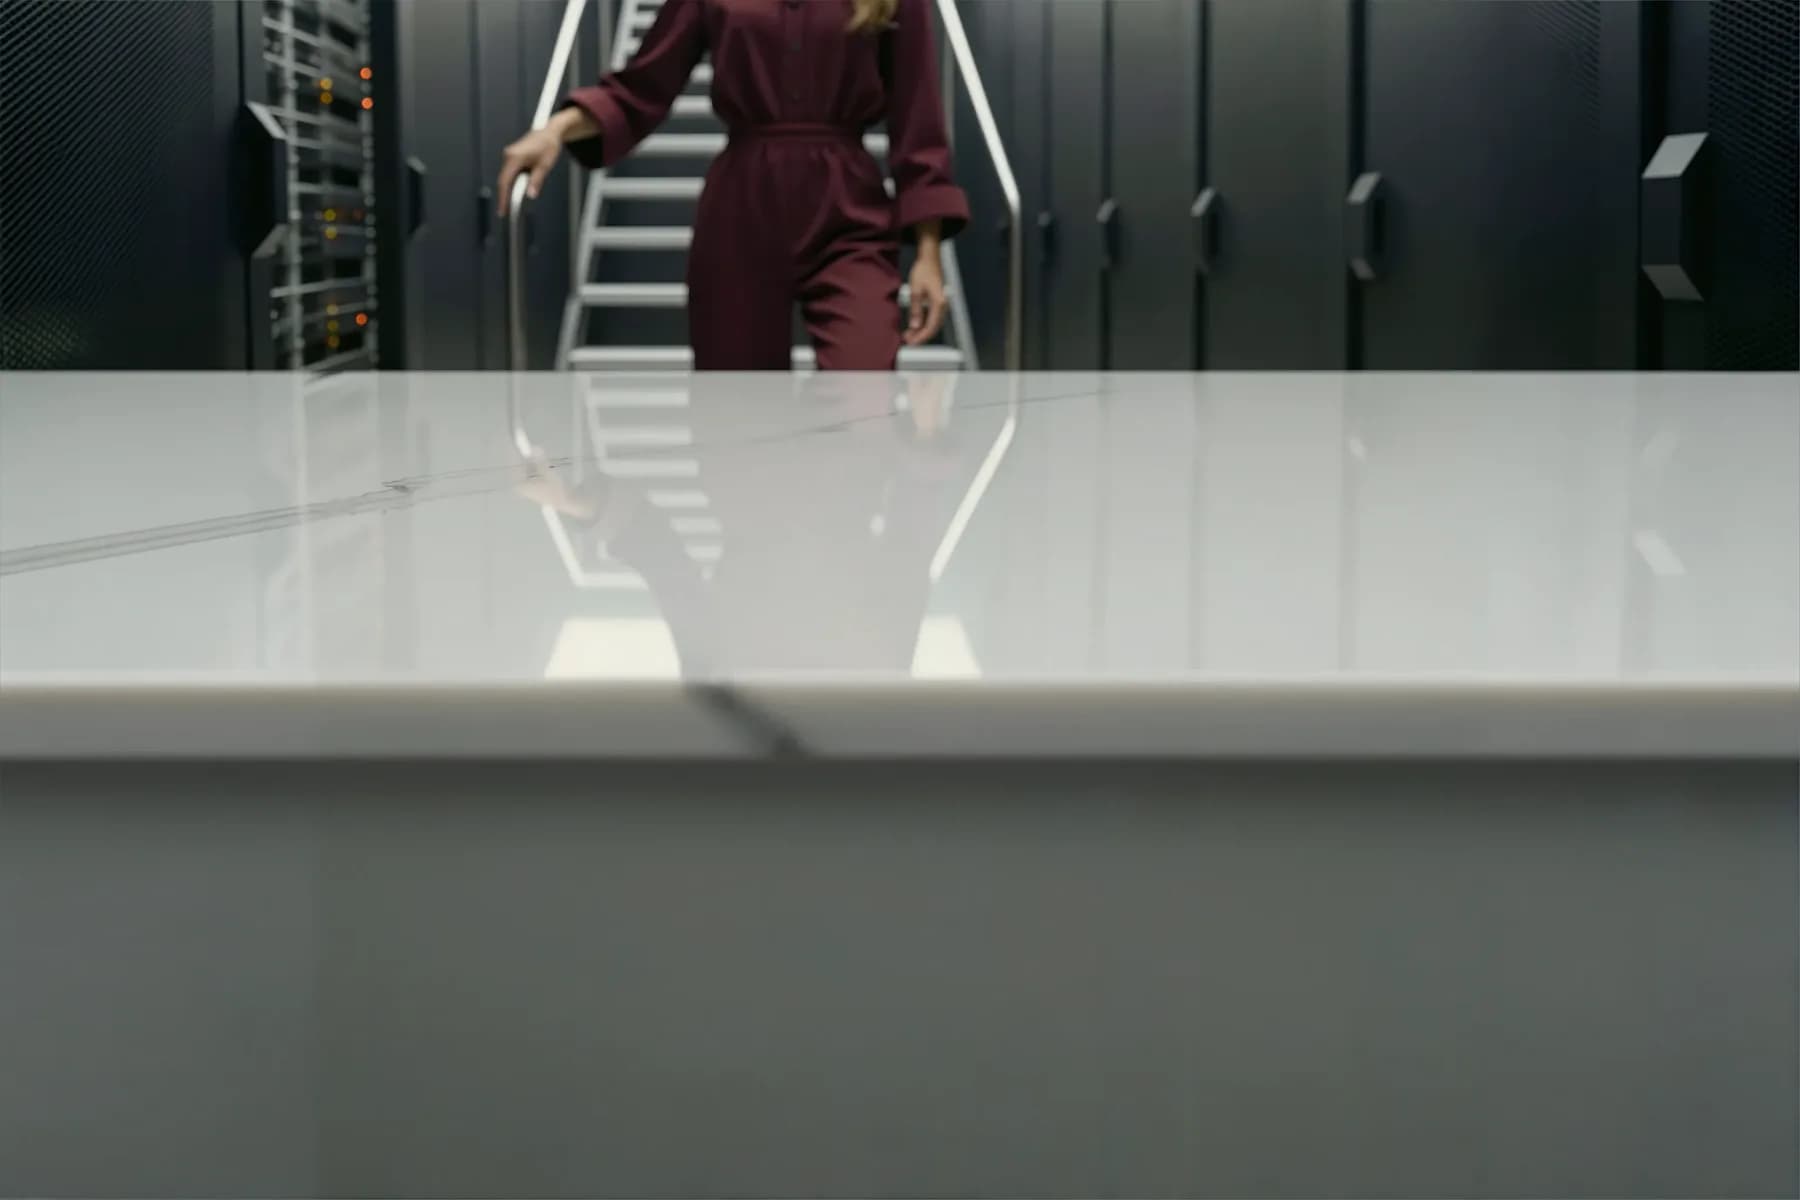
- 03An empty backplate with a usable surface
- 04Adobe Photoshop software
- 05The campaign brief and target dimensions
- 06A named reviewer and acceptance checklist
Choose the backplate for geometry, not mood alone
Reject a visually attractive scene if its camera or surface creates unnecessary repair work.
- The horizon matches the packshot.
- Camera elevation is compatible.
- The product footprint has uninterrupted space.
- The surface supports a contact shadow.
- Light direction can be reproduced.
- The final aspect ratio is already considered.
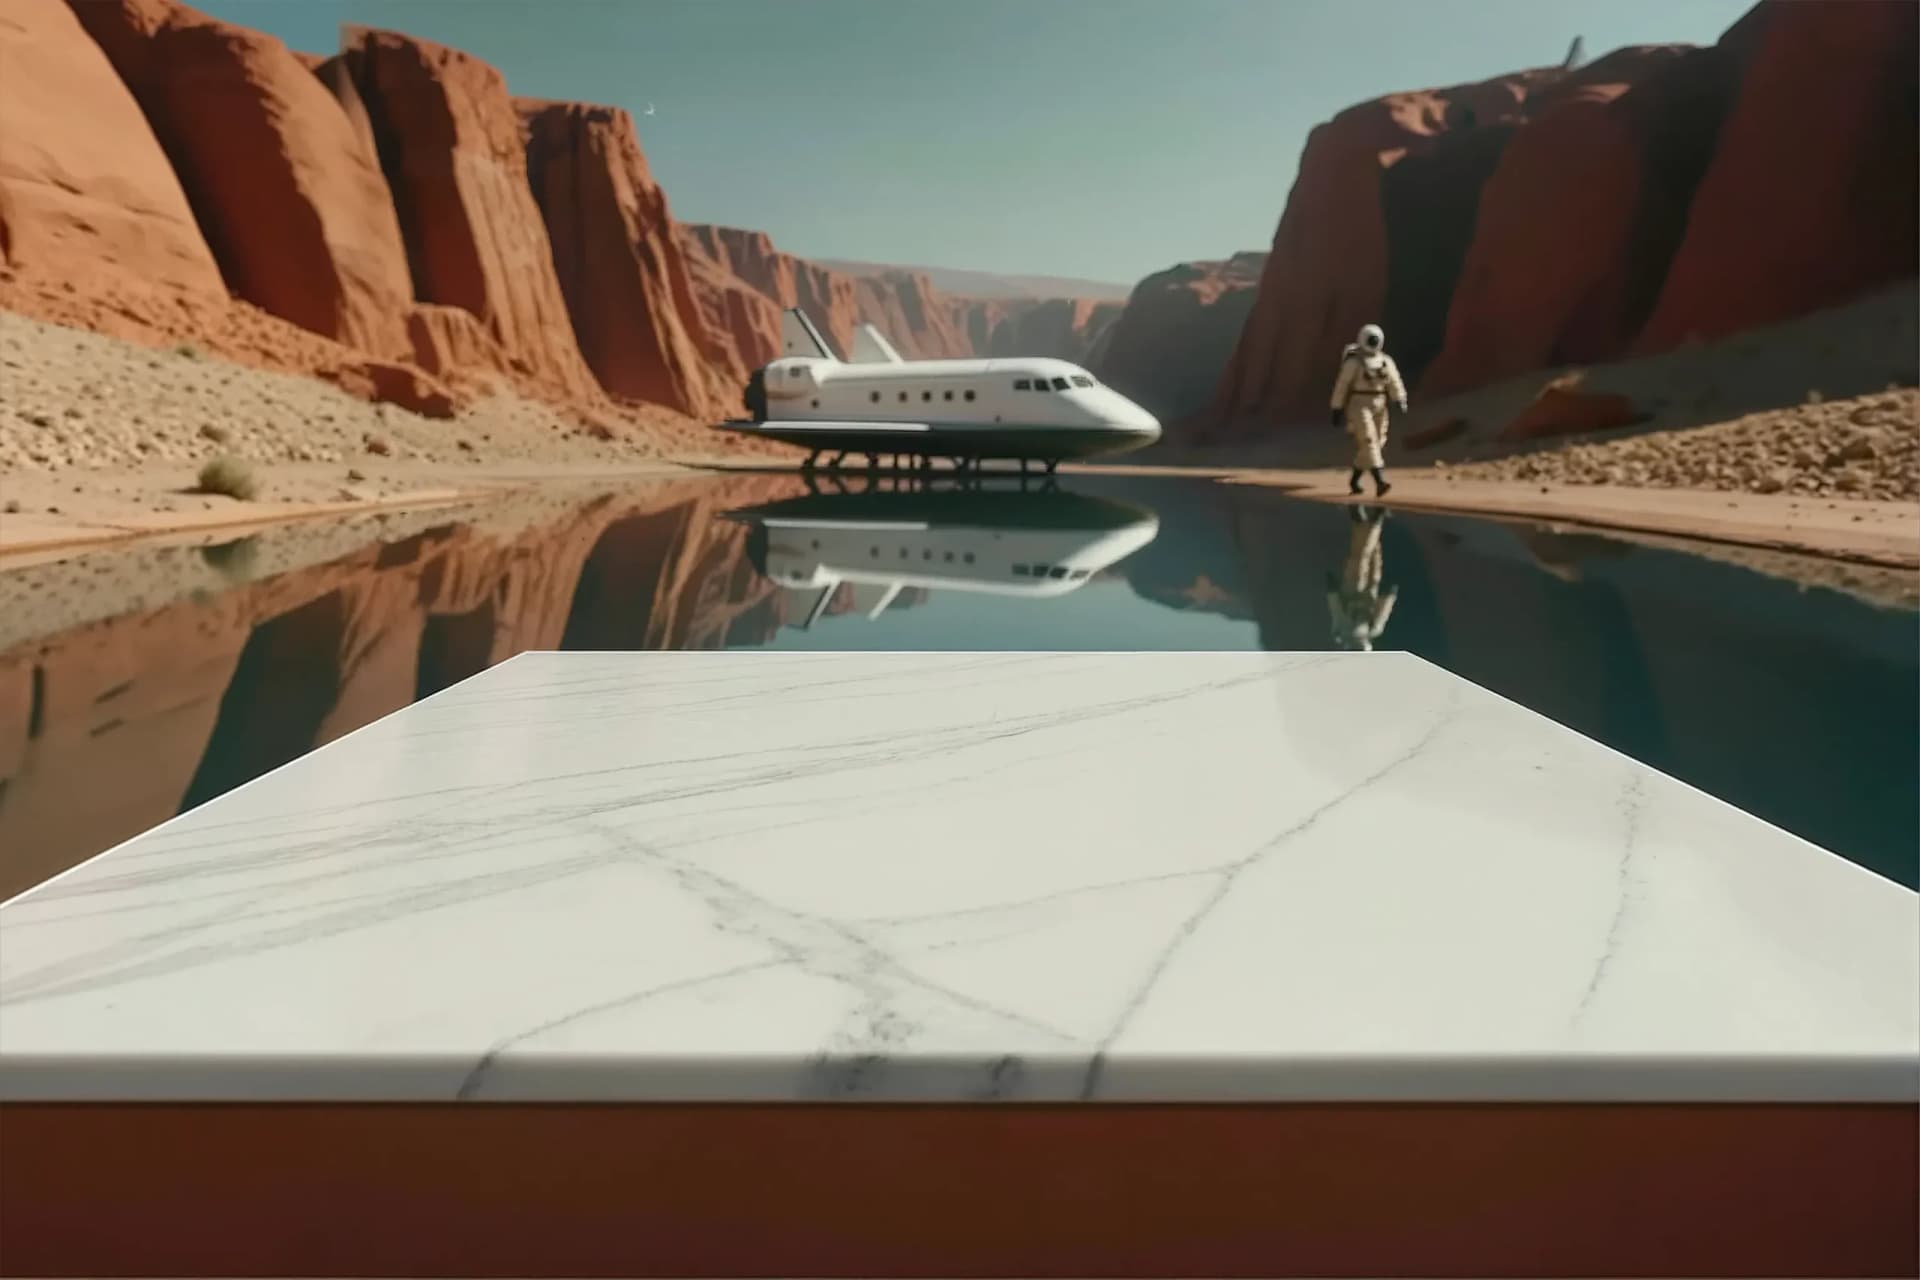
Keep the approved product as a Smart Object
Place the approved product non-destructively and preserve a clear boundary between the real asset and generated environment.
Smart Objects allow non-destructive scaling, source replacement, reusable transformations, and cleaner propagation across format variants. Do not paint directly onto the approved product layer.
- Scale without destructive resampling.
- Replace the source asset safely.
- Reuse transformations across variants.
- Keep product edits auditable.

Establish scale and perspective
Use the visible surface, horizon, and scene props to estimate how the approved product would occupy the real space.
- Compare product height with nearby familiar objects.
- Match the bottom ellipse or footprint to the surface angle.
- Keep vertical edges plausible.
- Match the apparent camera height.
- Avoid extreme warping to force a fit.
- Choose another backplate when geometry conflicts.
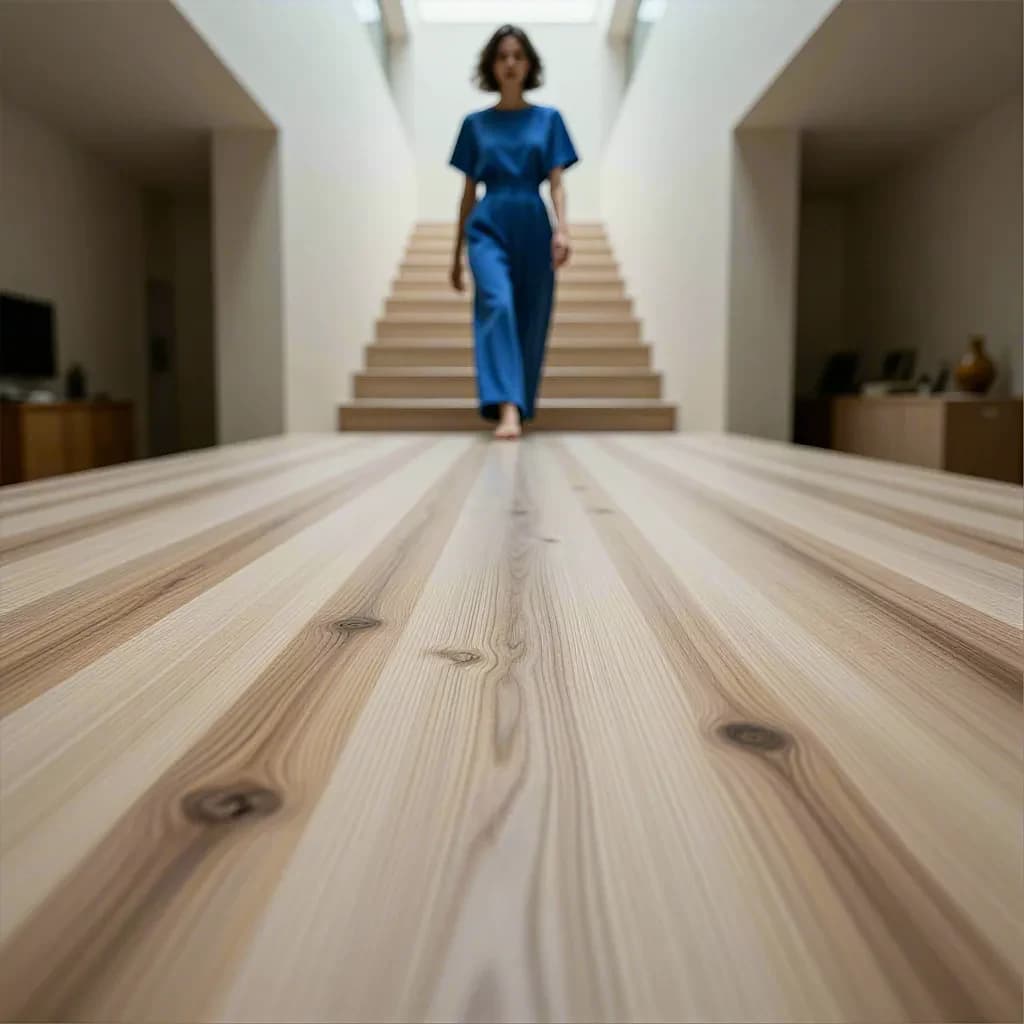 Perspective + footprint
Build the contact shadow first
A weak contact point makes a product float even when the rest of the lighting looks convincing.
 Contact first · cast second
The contact shadow should be darkest close to the footprint, soften as it moves away, follow product geometry, and agree with the key-light direction.
- Shape it from the real footprint.
- Separate contact and cast shadows.
- Keep edges physically plausible.
- Restrain density to preserve realism.
Match product lighting non-destructively
Use clipped adjustment layers instead of permanently changing approved product pixels.
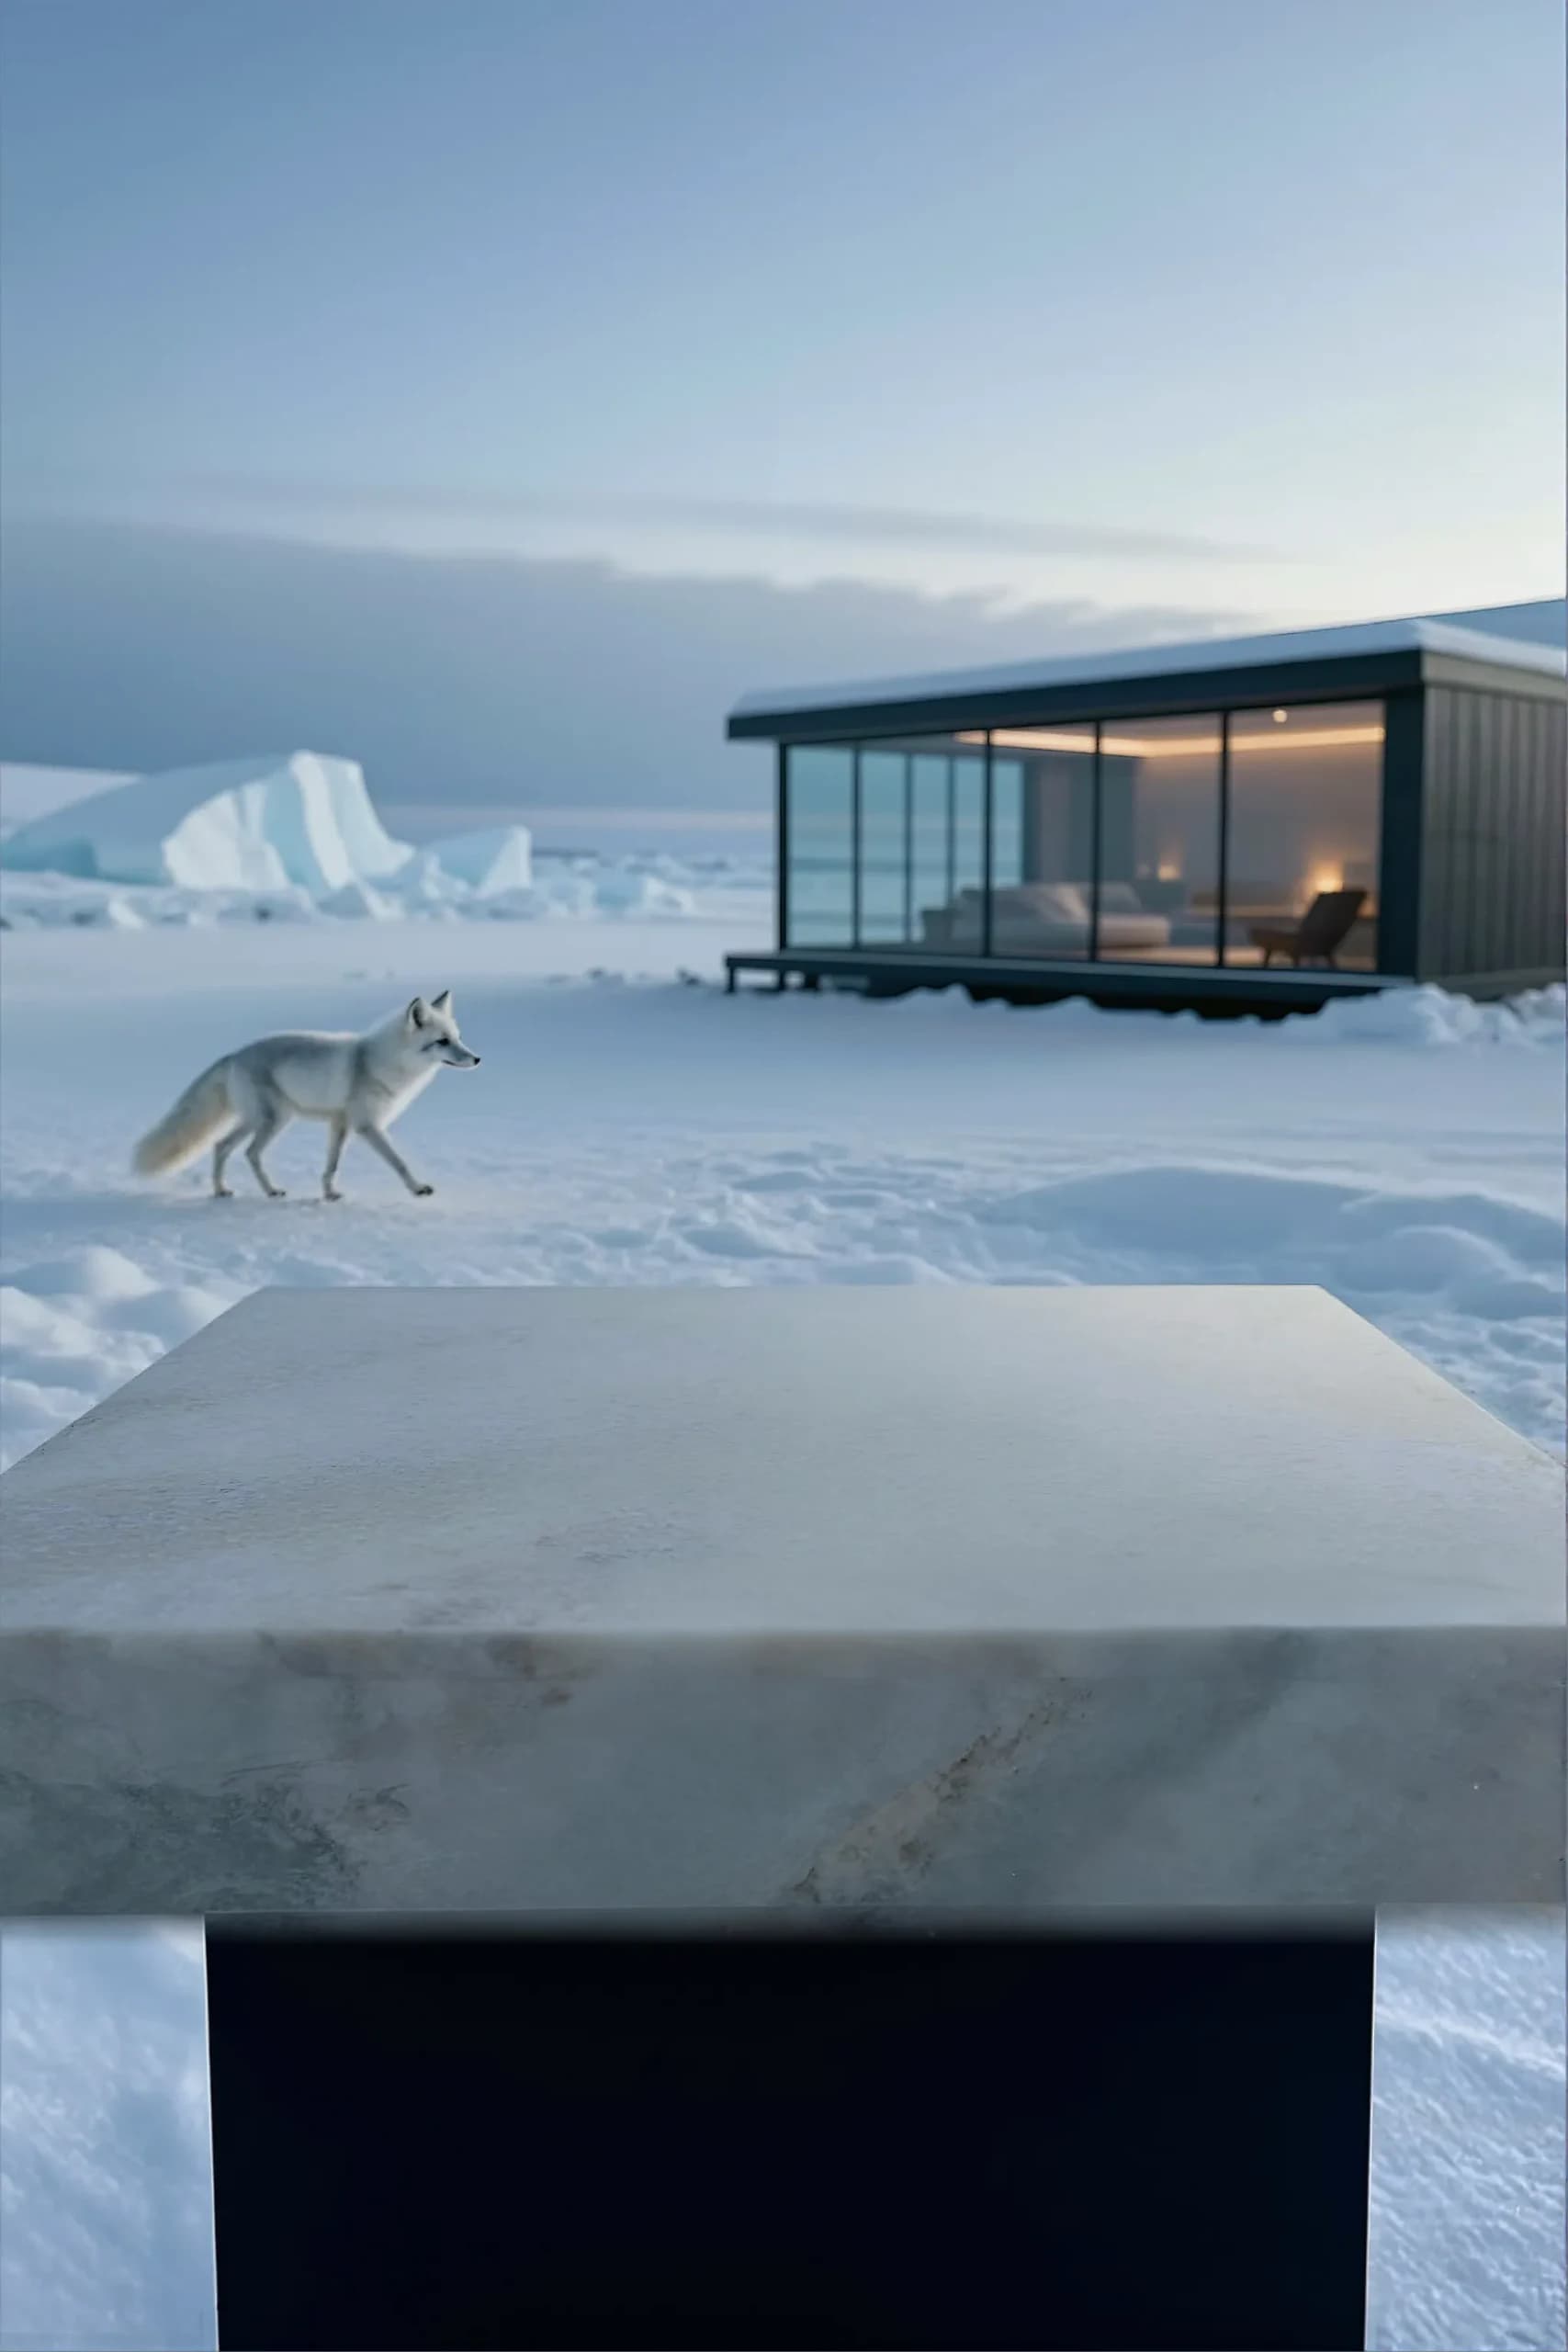 Cool ambient
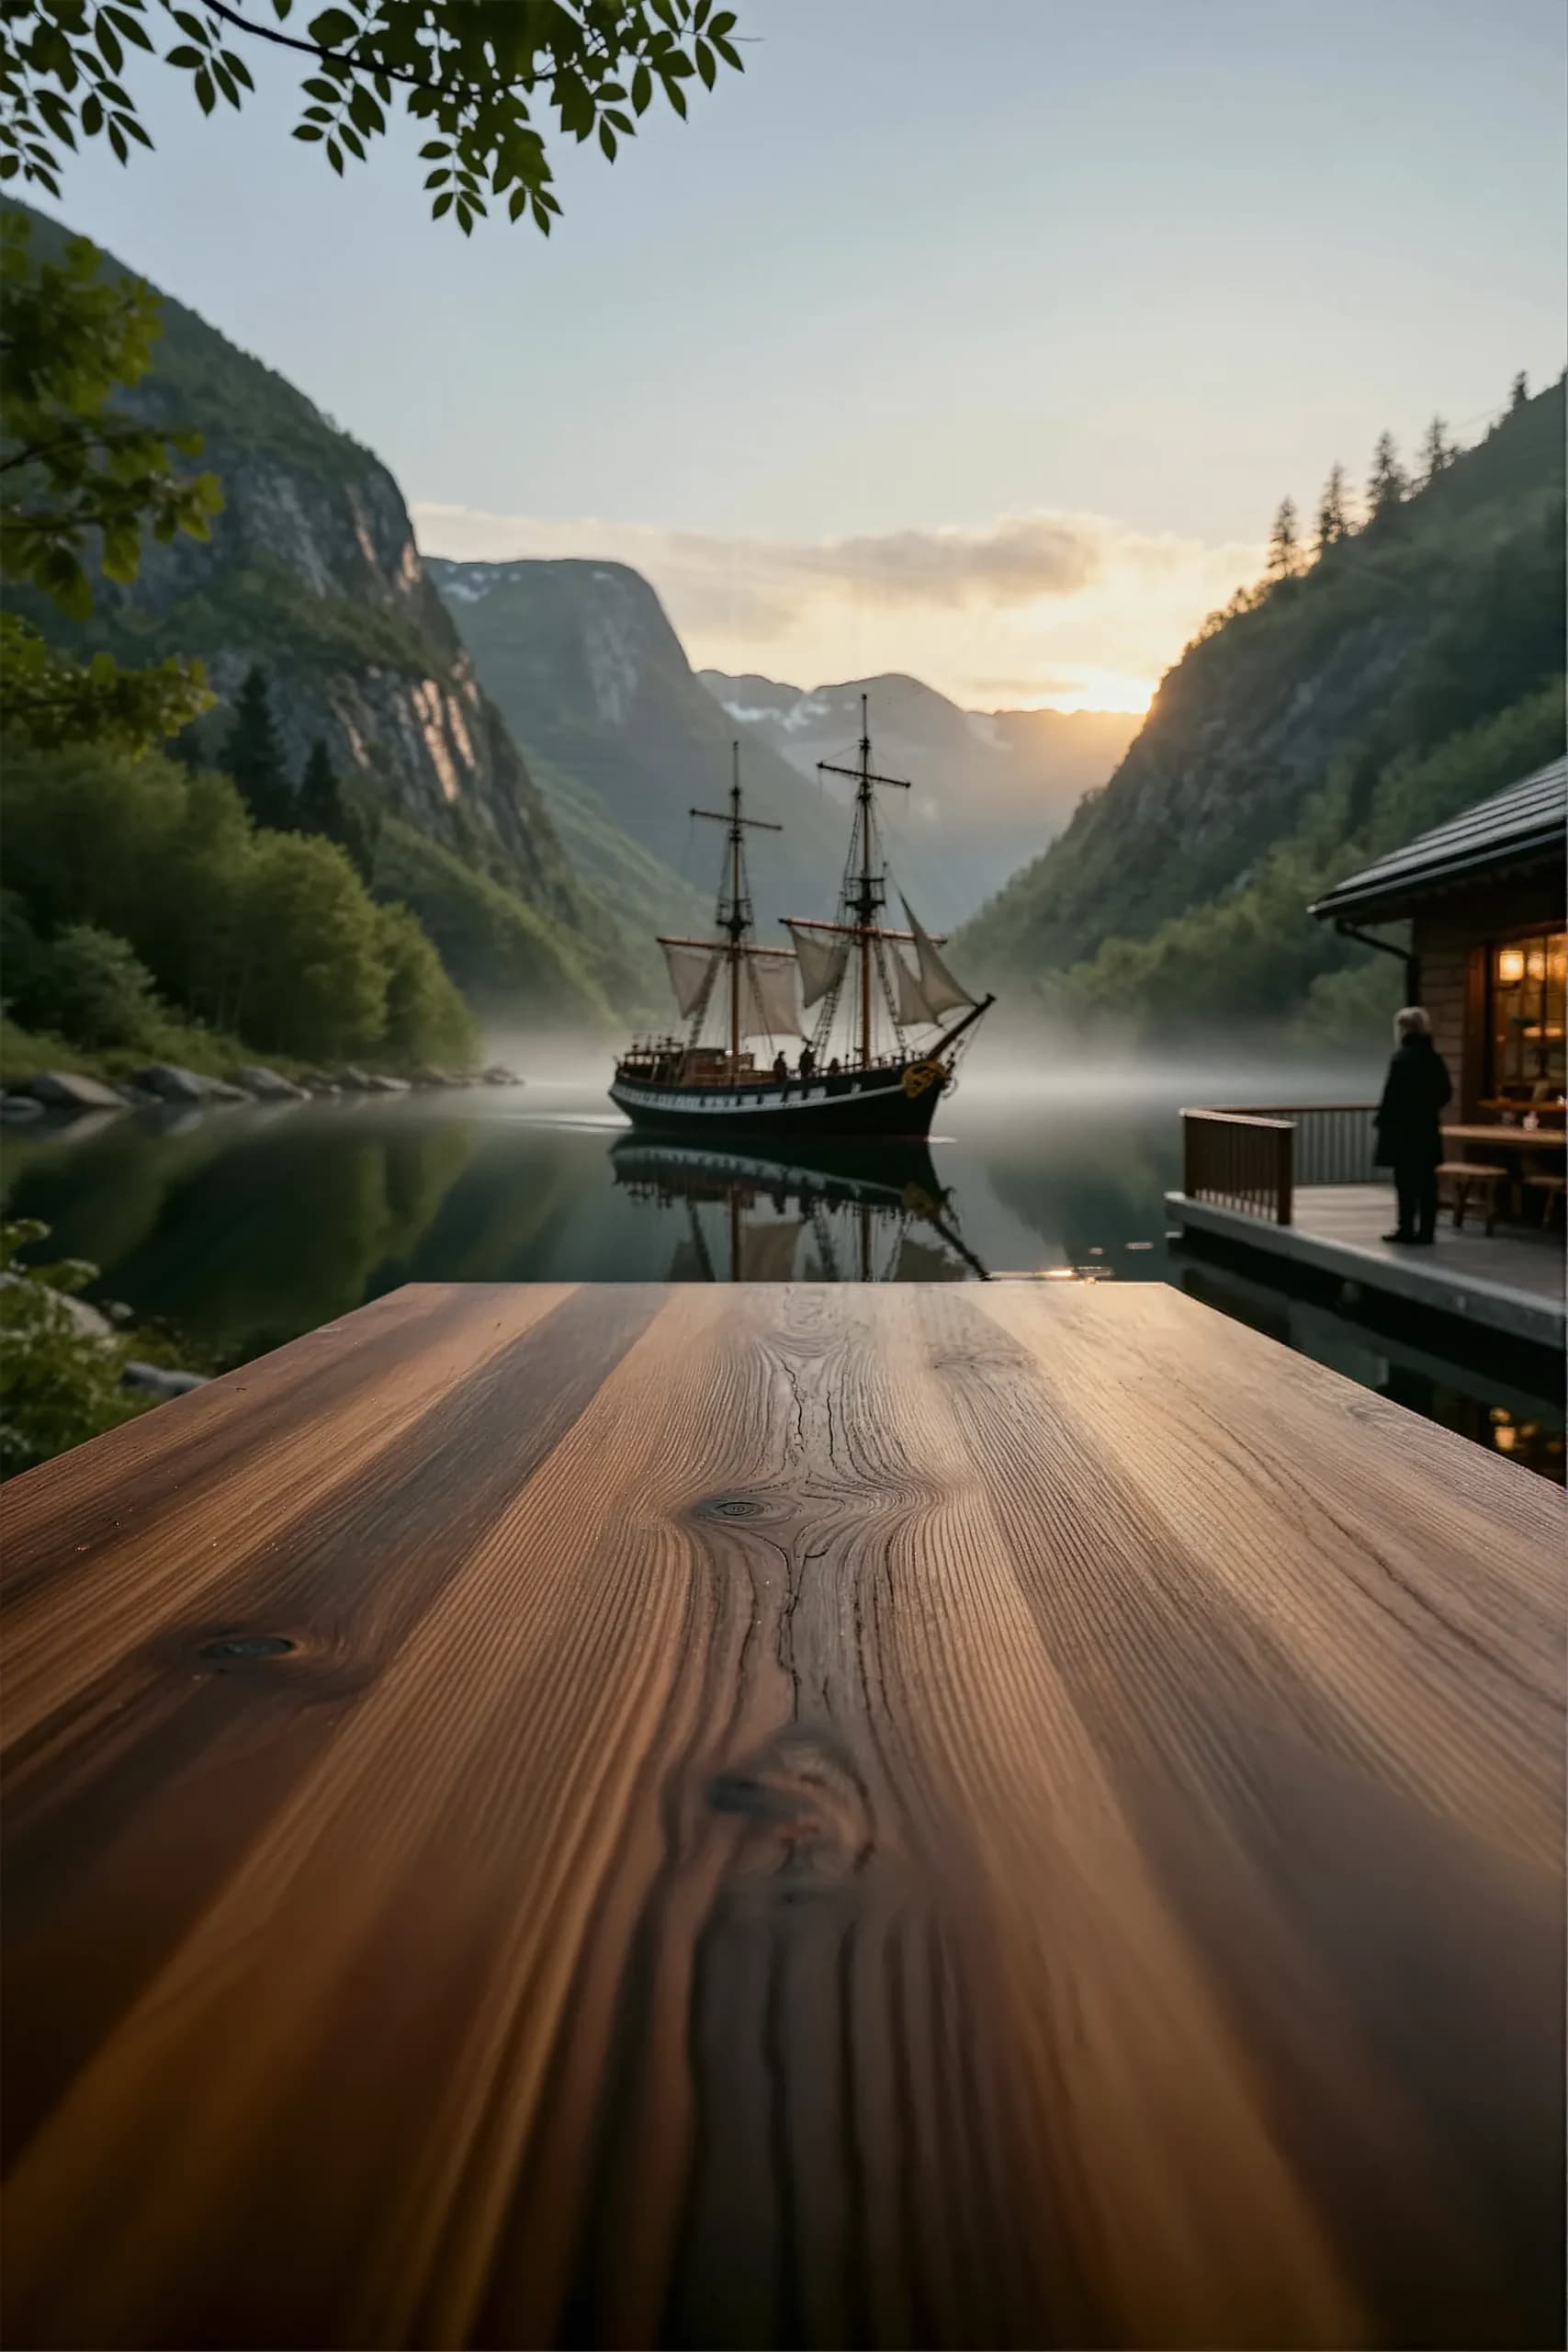 Warm directional
Curves
Set overall contrast and density.
Color Balance
Introduce restrained ambient spill.
Hue/Saturation
Correct only the necessary color range.
Dodge and burn
Shape directional light with masks.
Rim light
Add only where the scene physically justifies it.
Backplate reset
Generate a better plate when lighting is incompatible.
Add reflections only when the surface requires them
A glossy plane may need a controlled reflection. Matte stone usually does not.
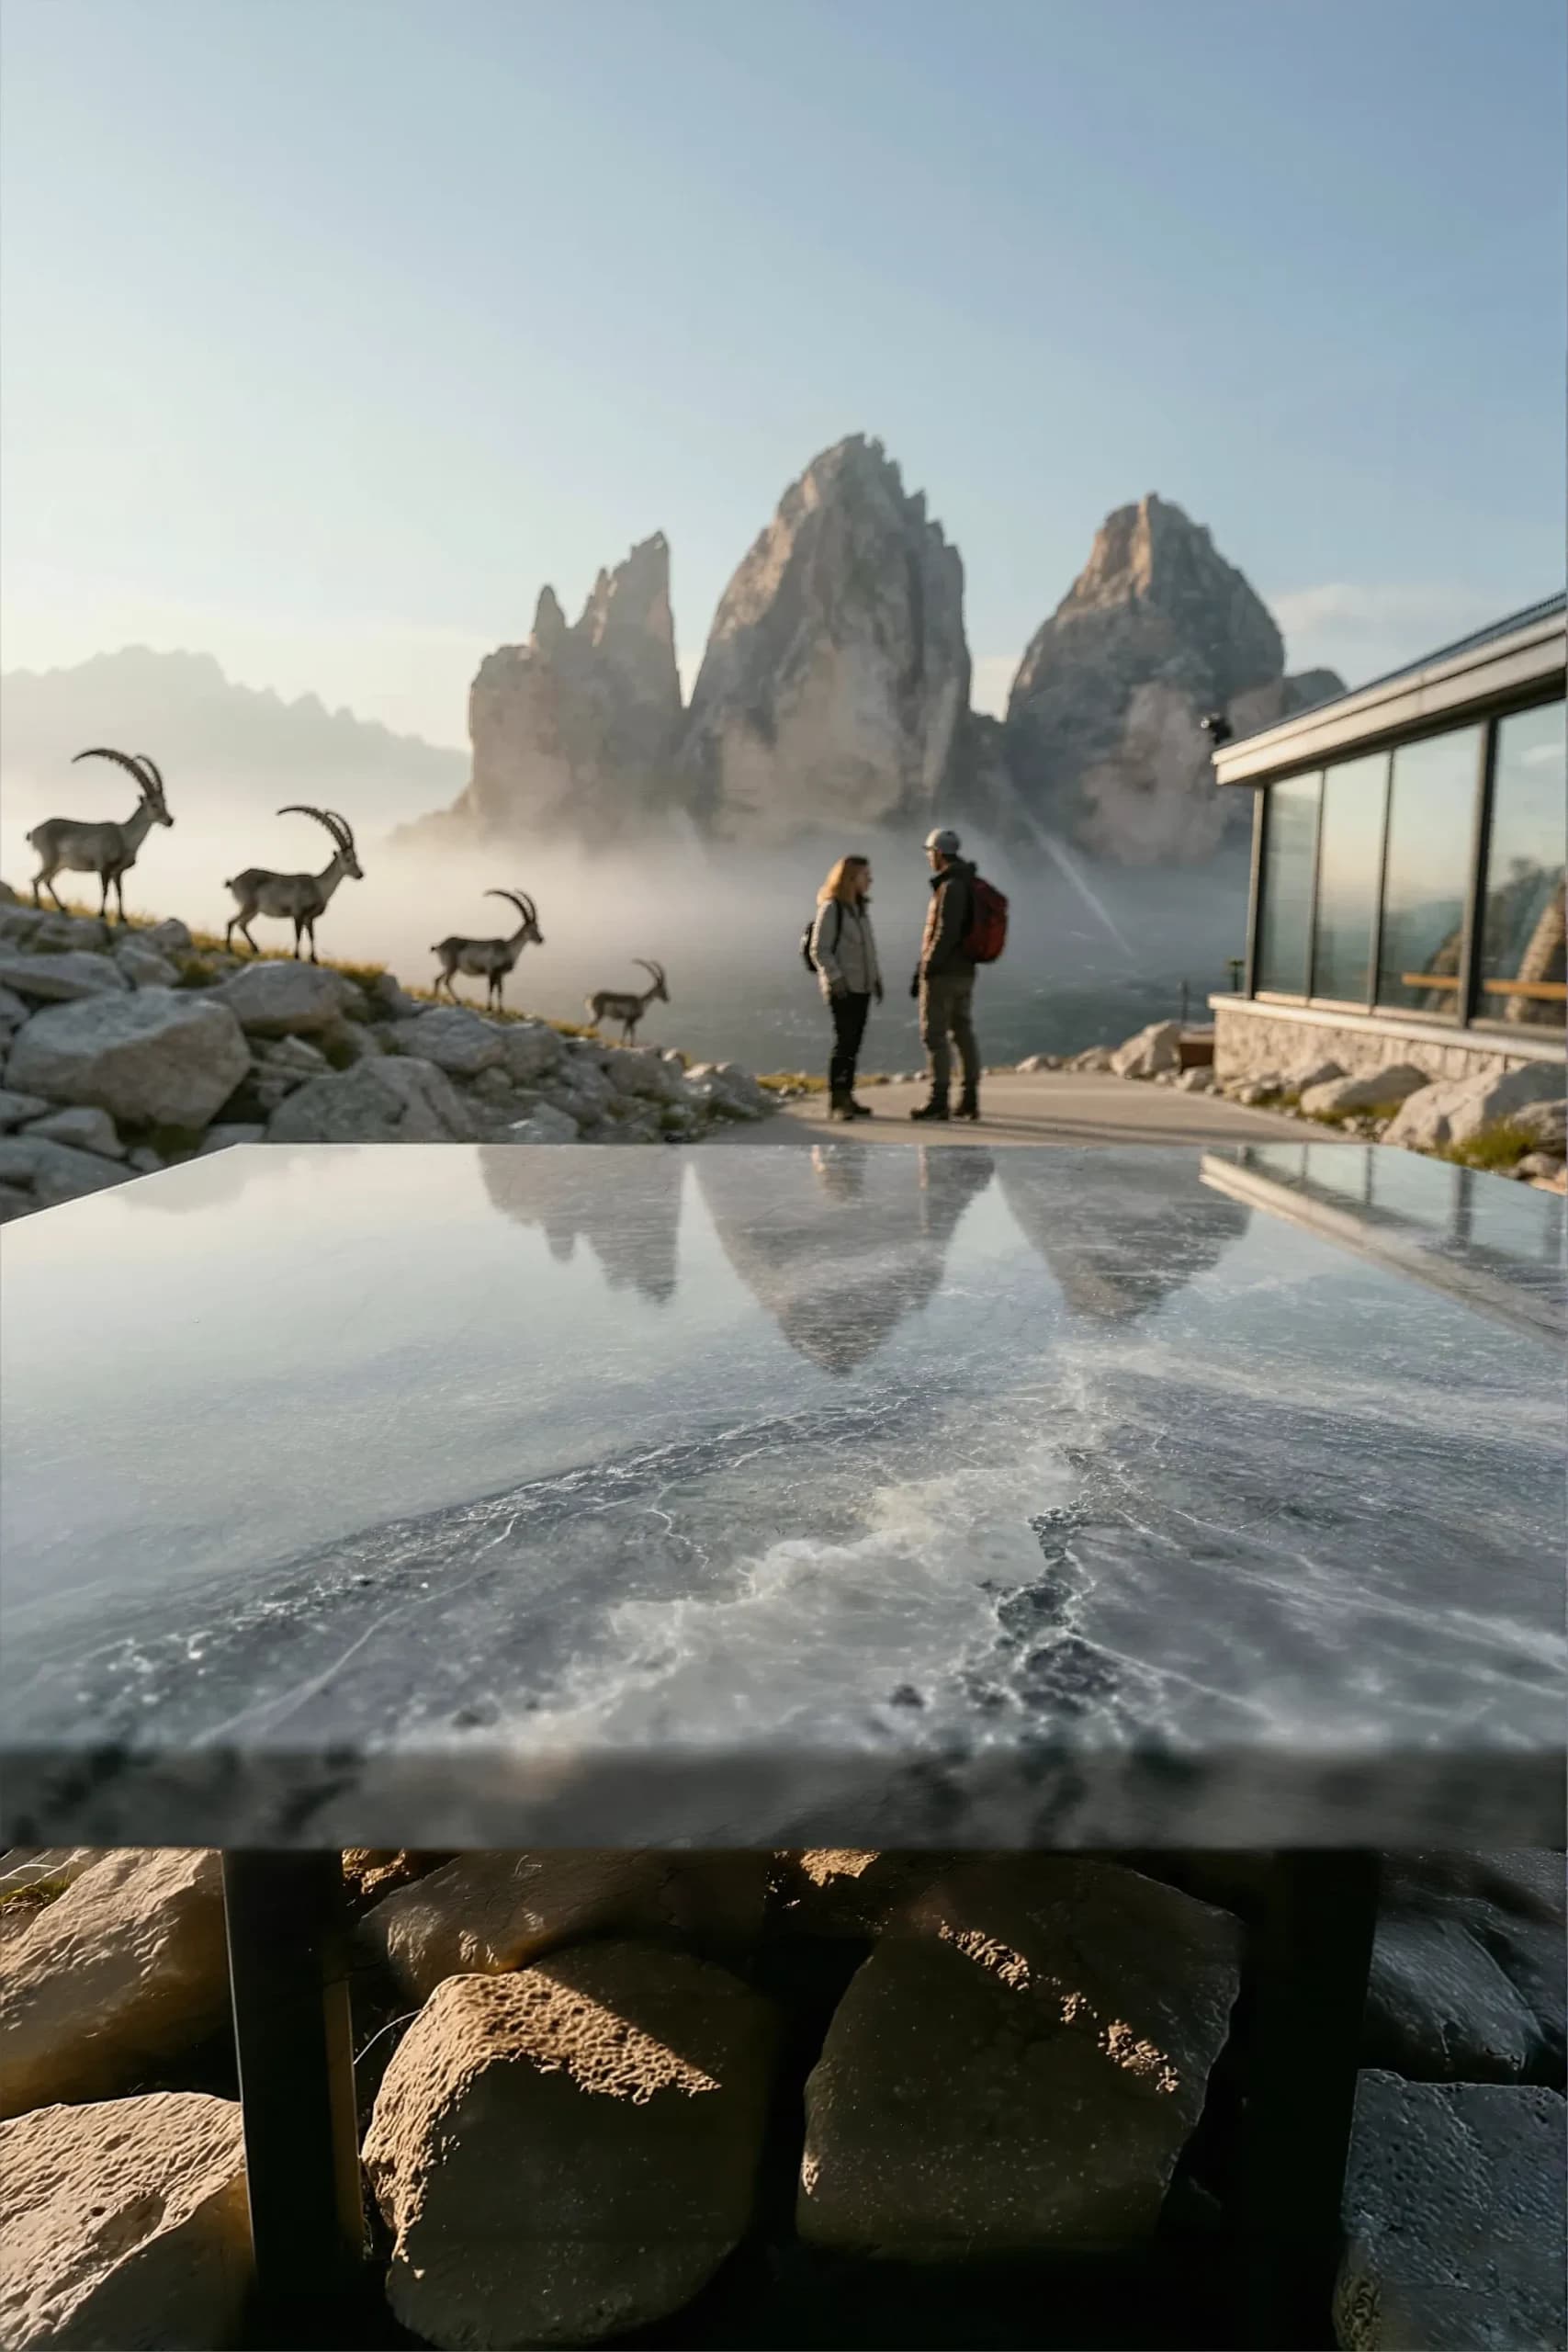 Reflect only when required
- 01Duplicate a linked or merged product reference.
- 02Flip it vertically.
- 03Transform it to the surface plane.
- 04Mask aggressively.
- 05Reduce contrast and opacity.
- 06Blur according to surface roughness.
- 07Tint it with the environment.
- 08Remove it if it announces itself as an effect.
Integrate depth and atmosphere
The product may need subtle interaction with its environment, but every effect should remain reversible and documented.
- Foreground occlusion where physically correct.
- Restrained atmospheric haze.
- Reflected color from nearby props.
- Depth-of-field matching.
- Local grain and sharpness matching.
- Separate layers for every added interaction.
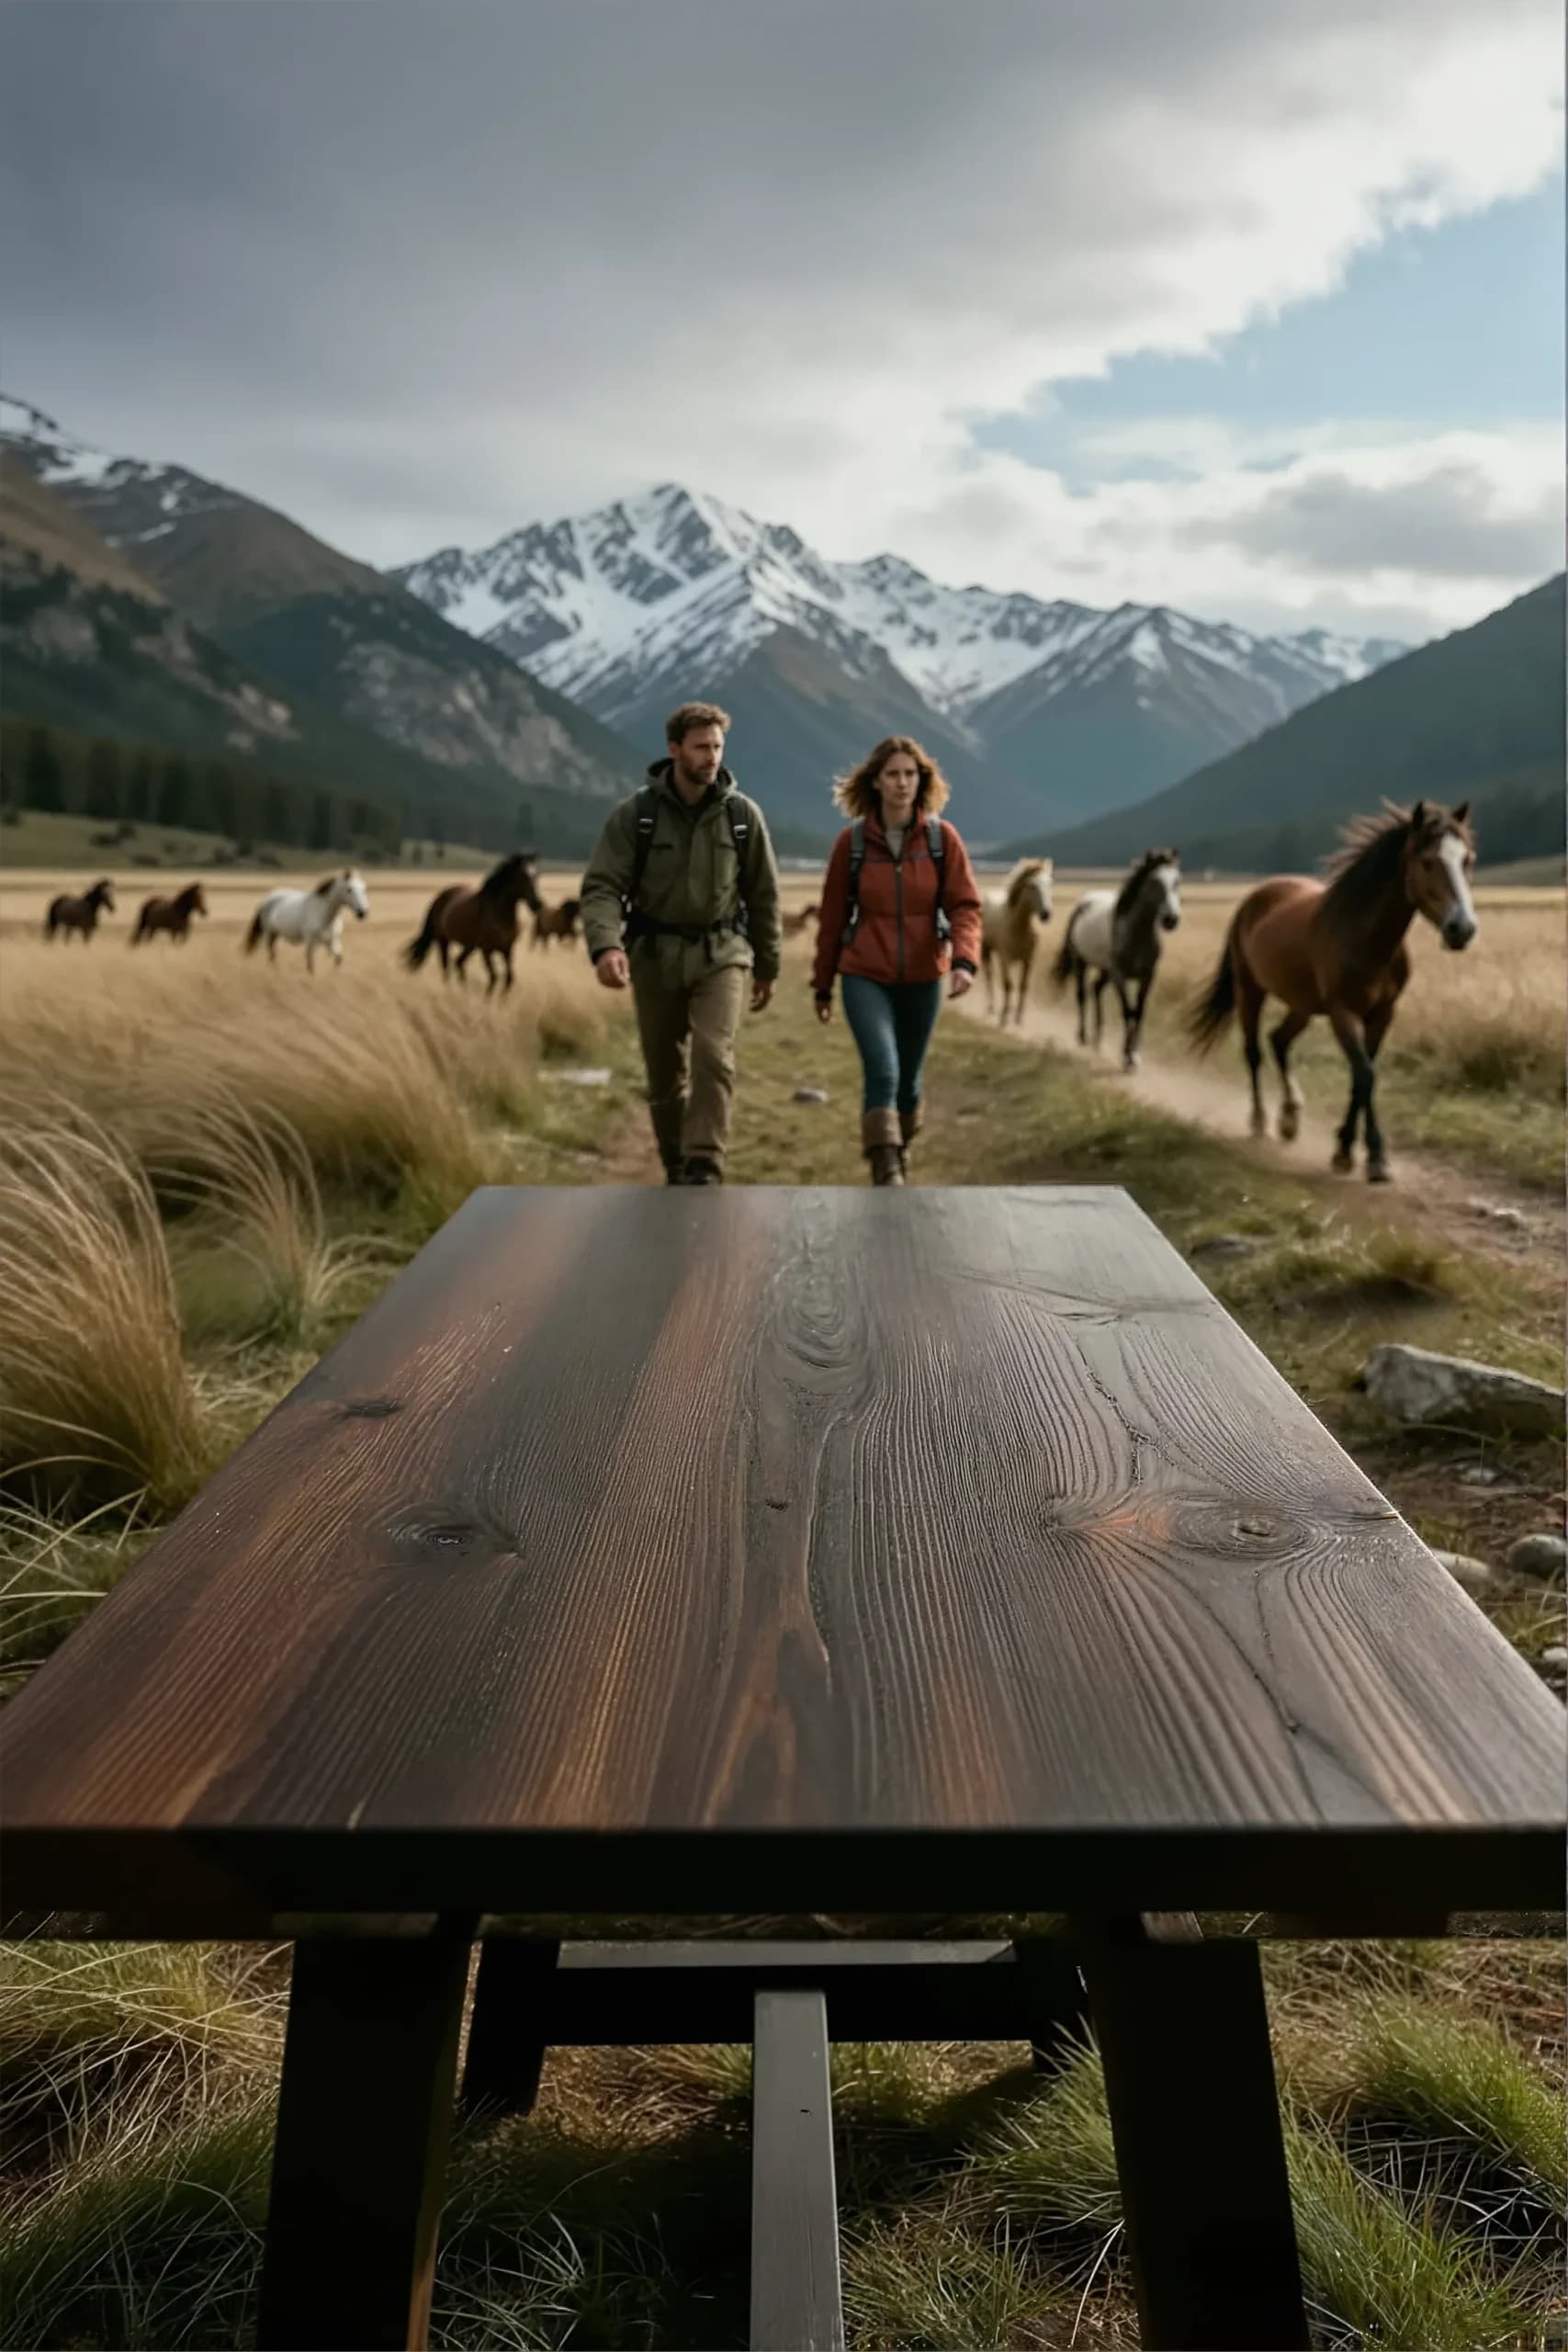
Create format variants from one controlled master
Build square, portrait, and landscape outputs from one approved composition and linked product Smart Object.
Do not rely on cropping alone. Each format may need backplate extension, product repositioning, different copy space, prop cleanup, shadow adjustment, and a separate review.
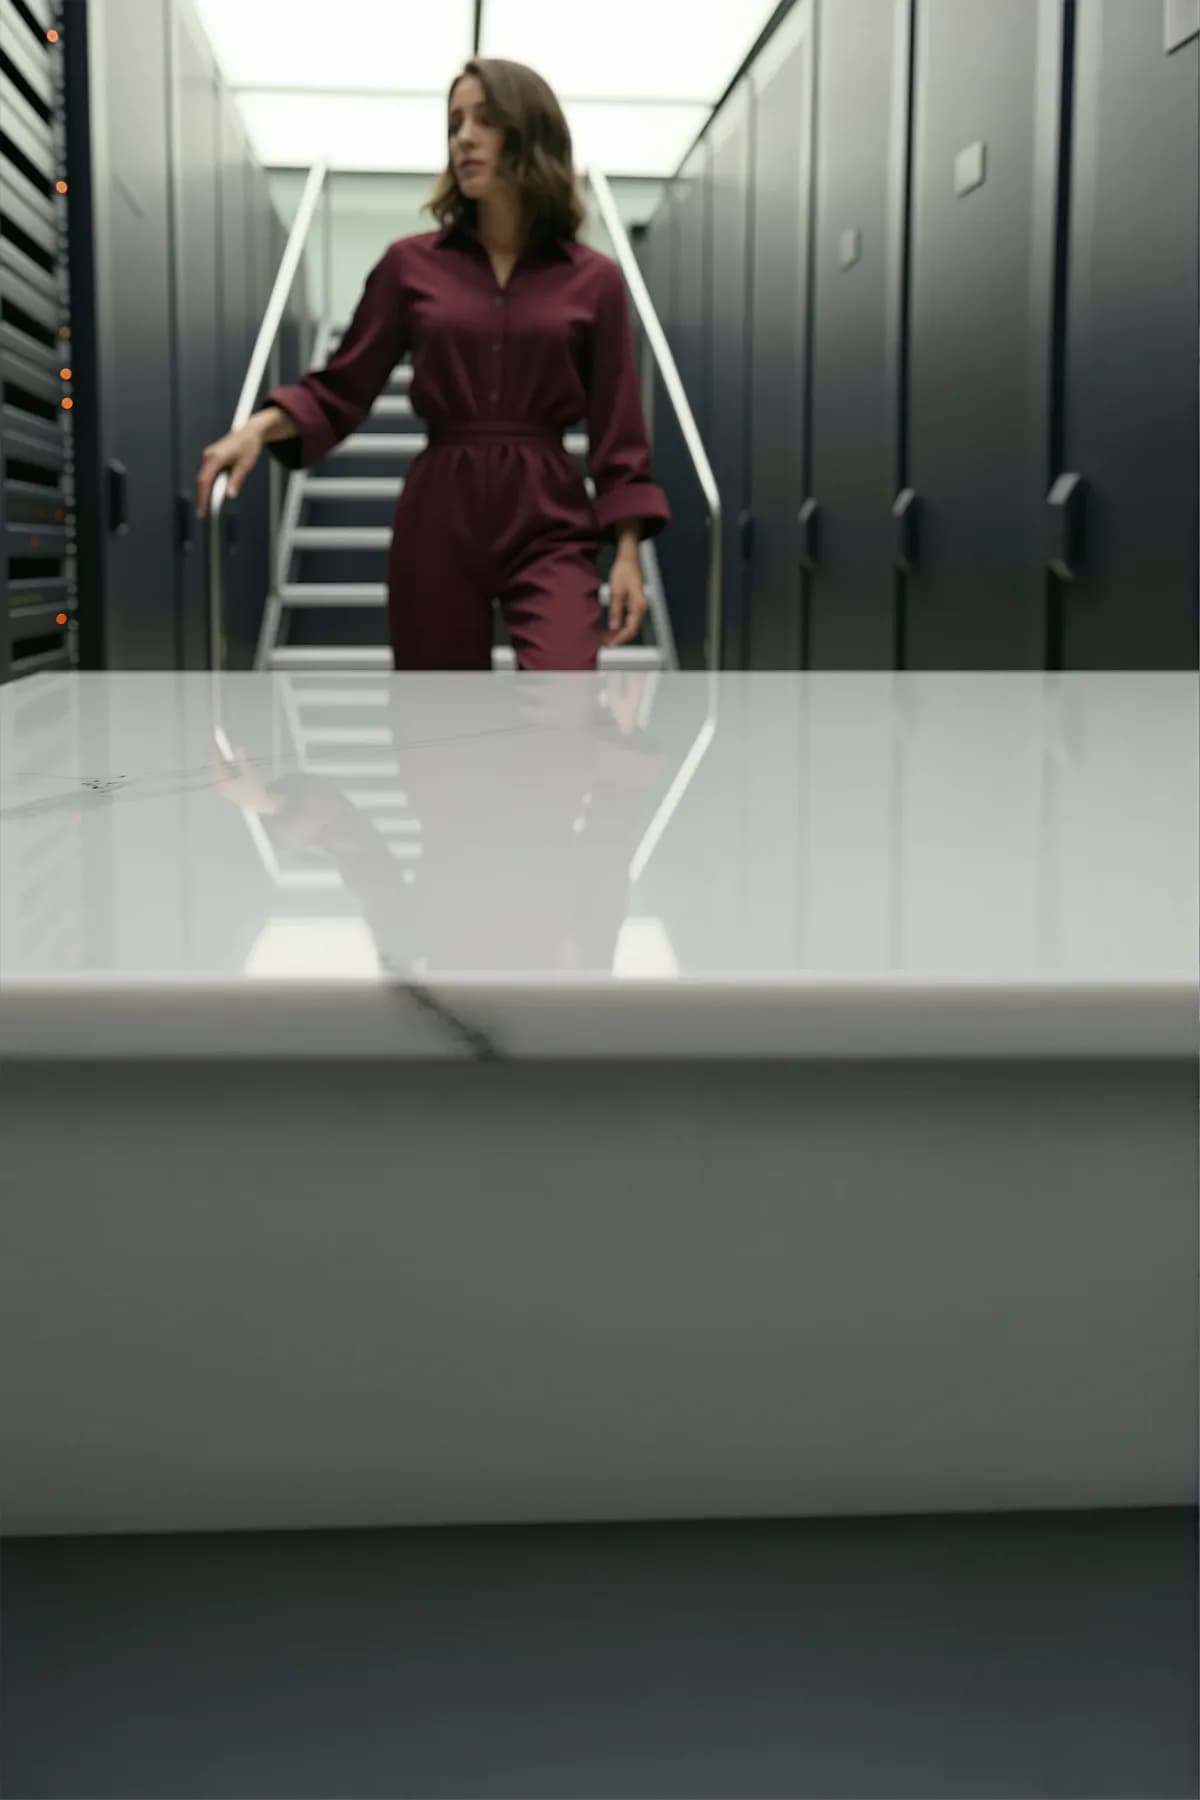
Use the linked product source consistently, then adjust placement, copy space, and shadows for each destination rather than forcing one crop everywhere. See the full hero image size and art-direction guide.
Review at delivery size
Inspect the full-resolution master and the actual destination size before approval.
- No haloing around the mask.
- Sharpness is consistent with the scene.
- Shadow direction remains possible.
- Reflections agree with the material.
- Labels retain accurate color and legibility.
- The product is not deformed.
- Nearby generated props contain no distracting artifacts.
- The backplate contains no fake text or accidental product-like shapes.
Acceptance checklist
Approve the relationship, not the background alone.
- The approved product remains unchanged.
- Perspective and scale are believable.
- The product visibly contacts the surface.
- Key light, contact shadow, and cast shadow agree.
- Label and logo remain legible and uncontaminated.
- No generated prop intersects the product.
- Required copy space exists in every format.
- Exports meet resolution and delivery requirements.
- The named reviewer accepts the final composite.
Bottom line
AI can make environment creation faster. Professional quality still comes from a controlled relationship between the approved product and the scene. Choose the backplate for compositing compatibility, preserve the product as a locked non-destructive layer, and judge success at the accepted final asset.